Macrame Knots – Finishing Knots

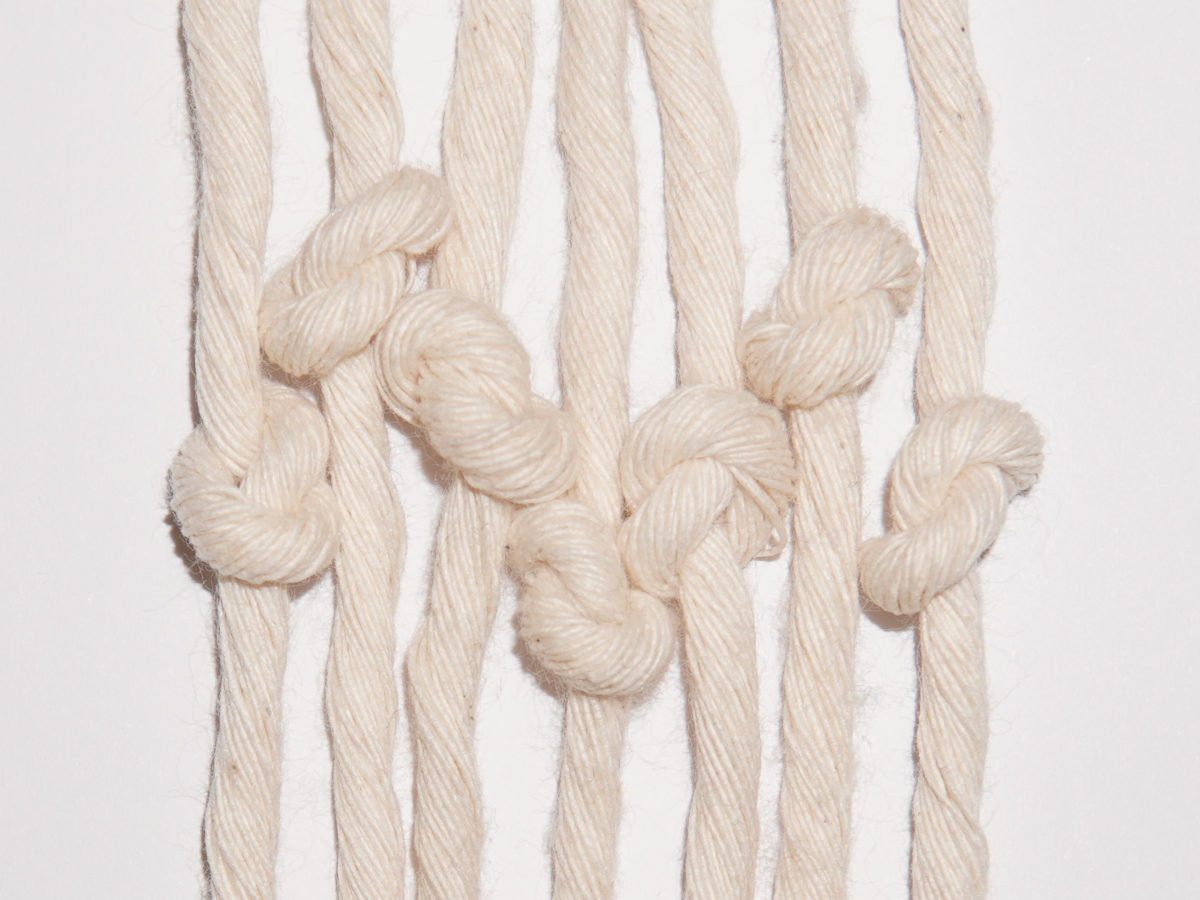
The cord ends can be finished in different ways. You can either leave them as they are or you can use finishing knots such as the overhand knot. Which one is the right one depends on the project, because it is important that the finish matches the style of the whole project.

Table of Contents

Finishing Knots – Overhand Knot

There are not many finishing knots. The overhand knot is one of the few. It is a simple knot that is good for finishing off loose cord ends. If you then tie the individual strands irregularly, the result is a beautiful finish. However, you can also use the knot to work on a whole group of cords.
Schwere Feder Teil 1

1

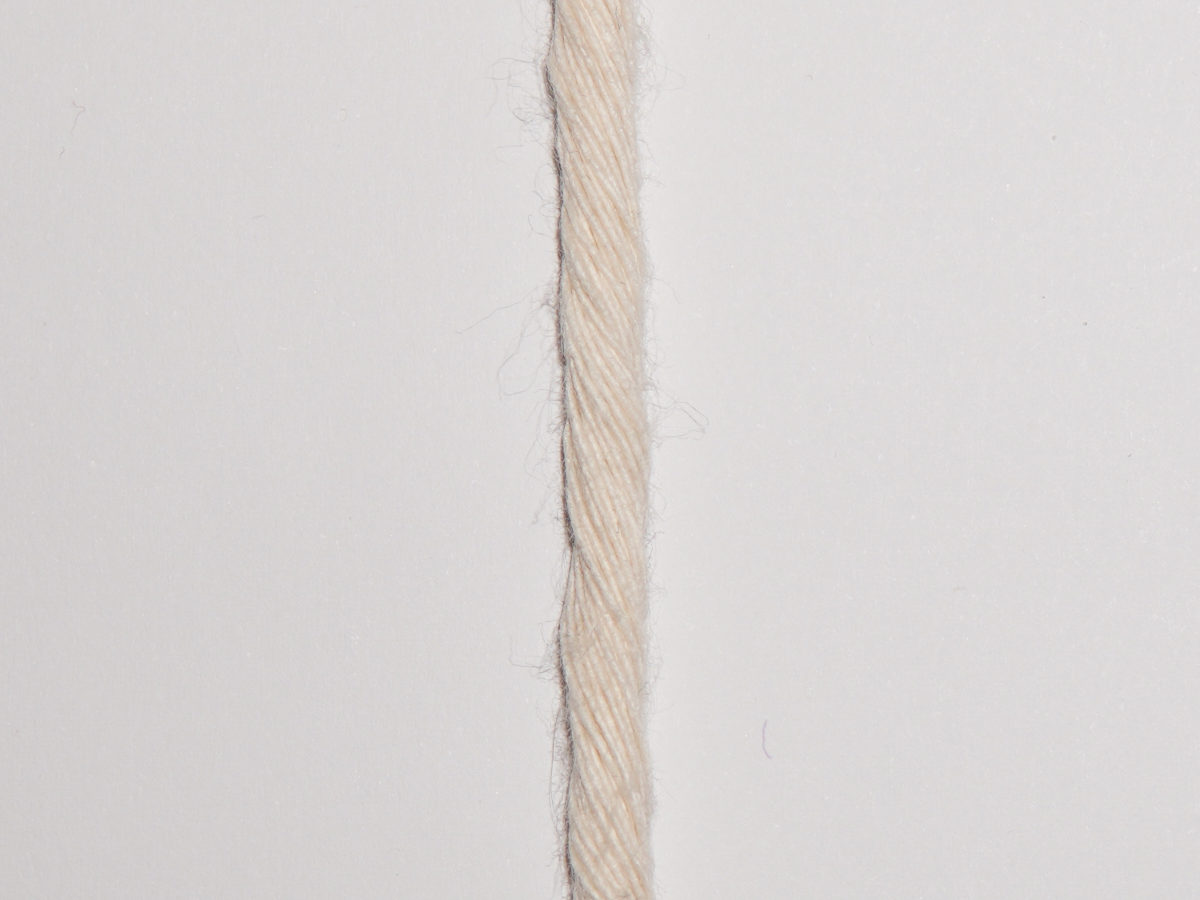
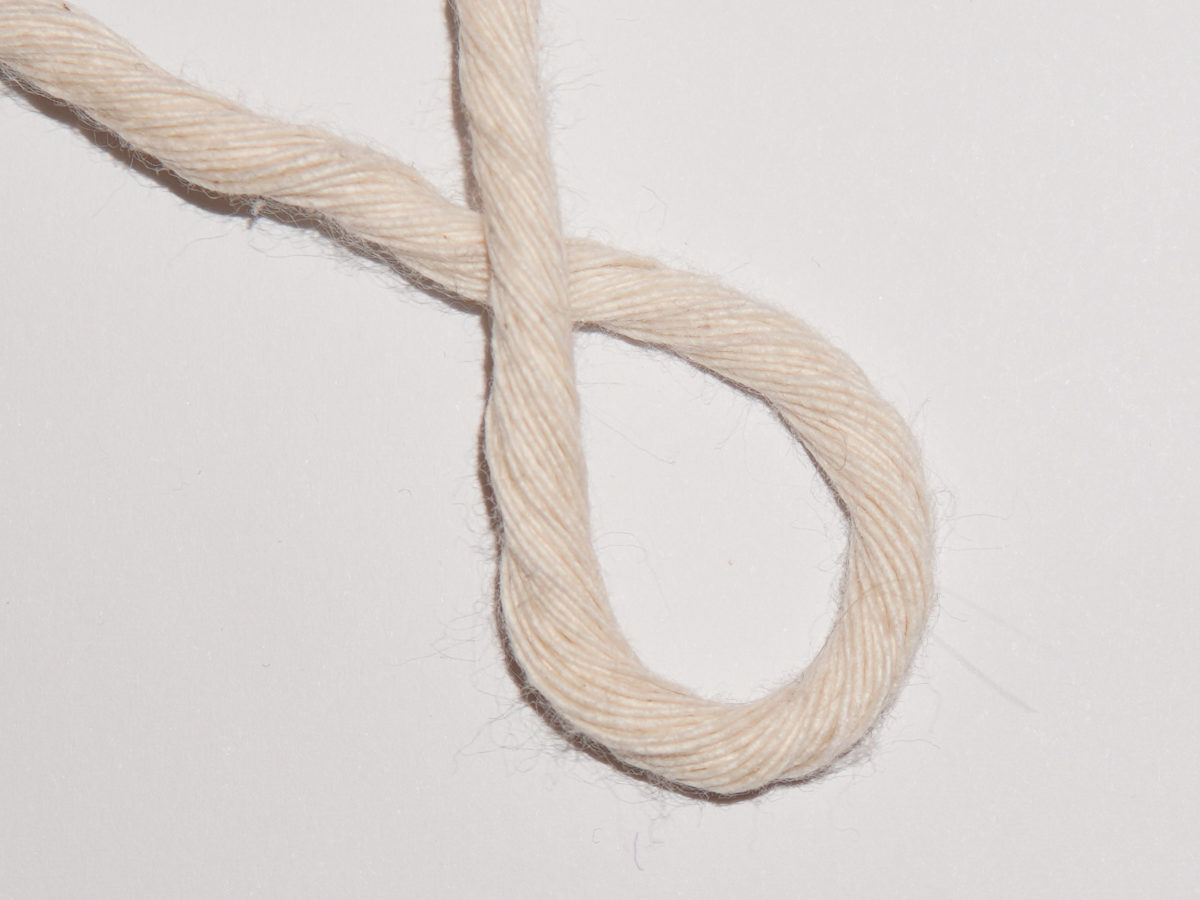
You will need one or more strands for the overhand knot.
Schwere Feder Teil 1

2

You then take the end of the strand and bring it up and under the strand.
Schwere Feder Teil 1

3

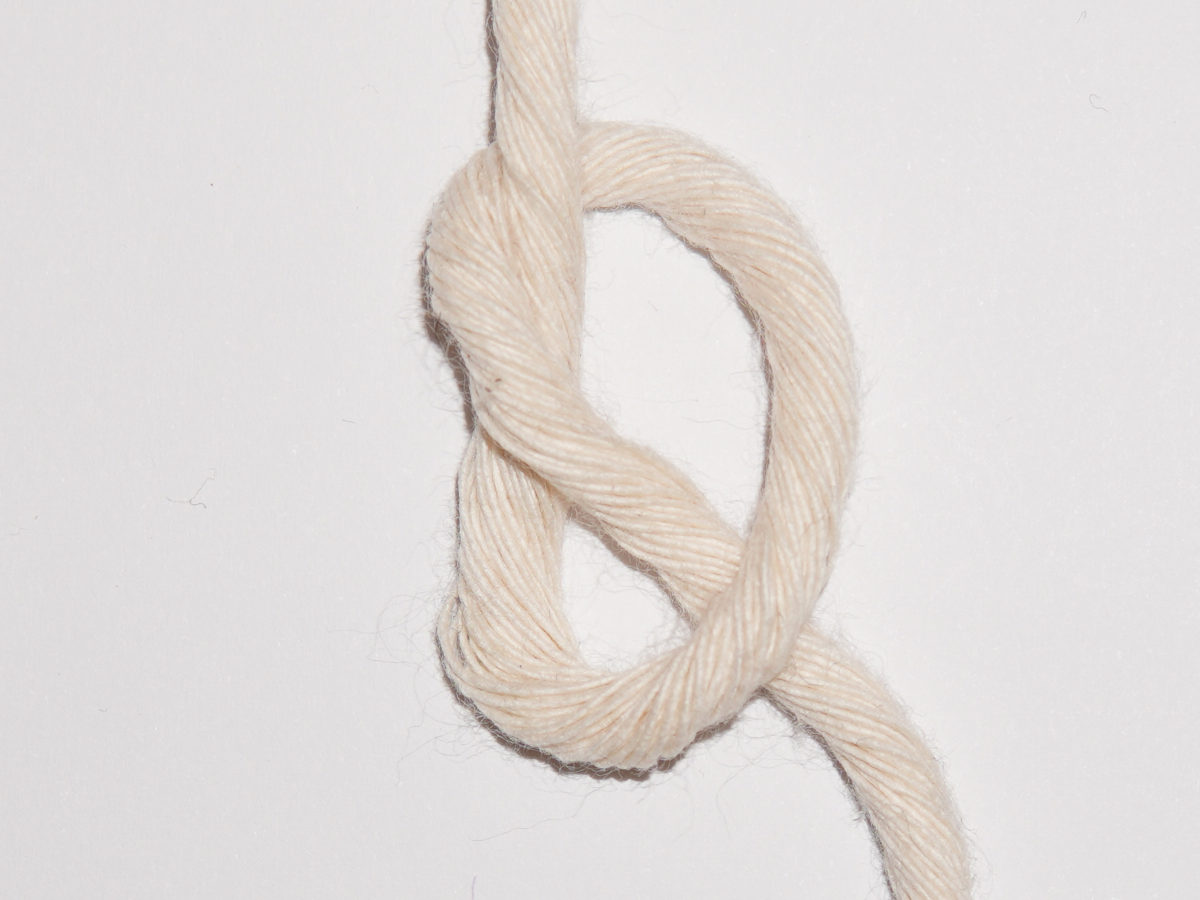
In the next step, pass the end of the strand from the front to the back through the resulting loop.
Schwere Feder Teil 1

4

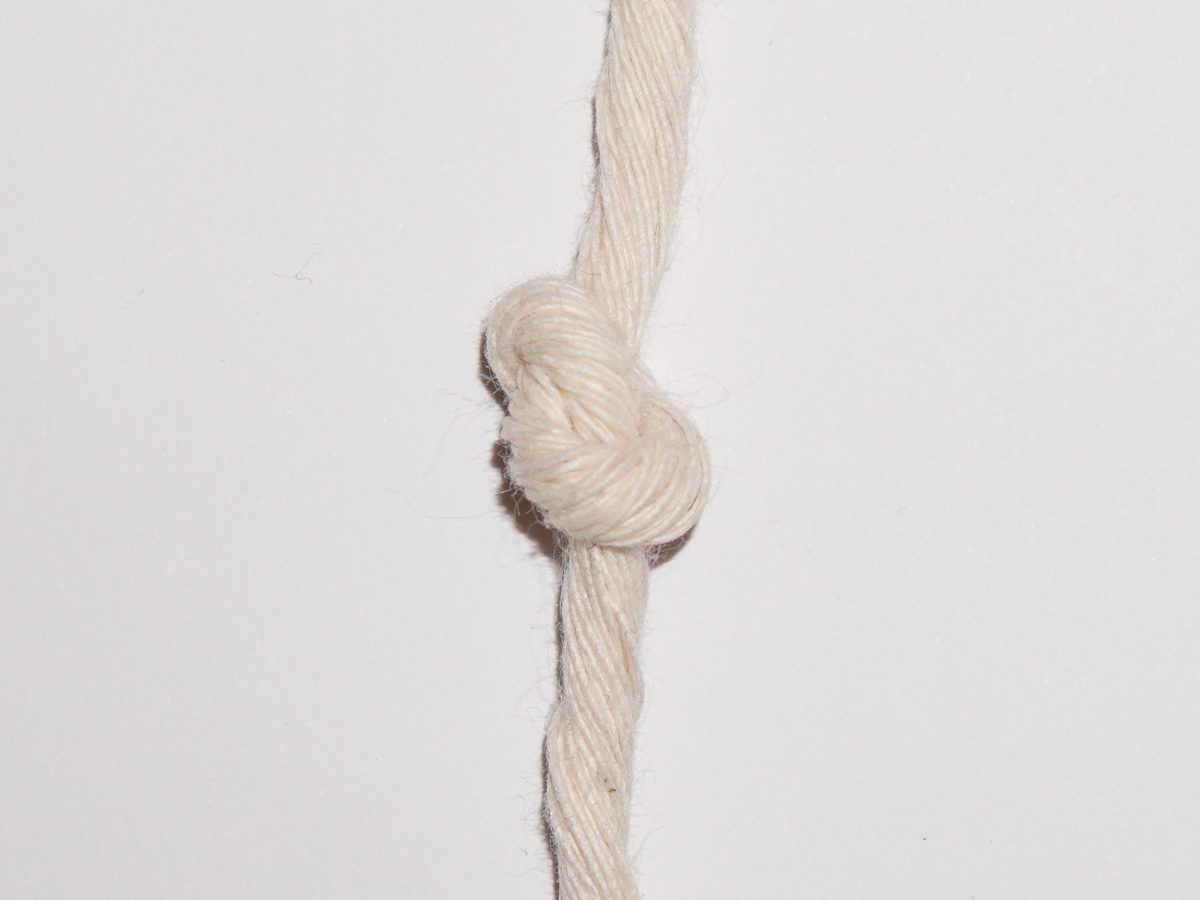
Now simply tighten the knot. The overhand knot is finished.

Schwere Feder Teil 1

5

If you knot several cord ends irregularly in this way, you will create a decorative finish.

Finishing Knots – Wrapping Knot
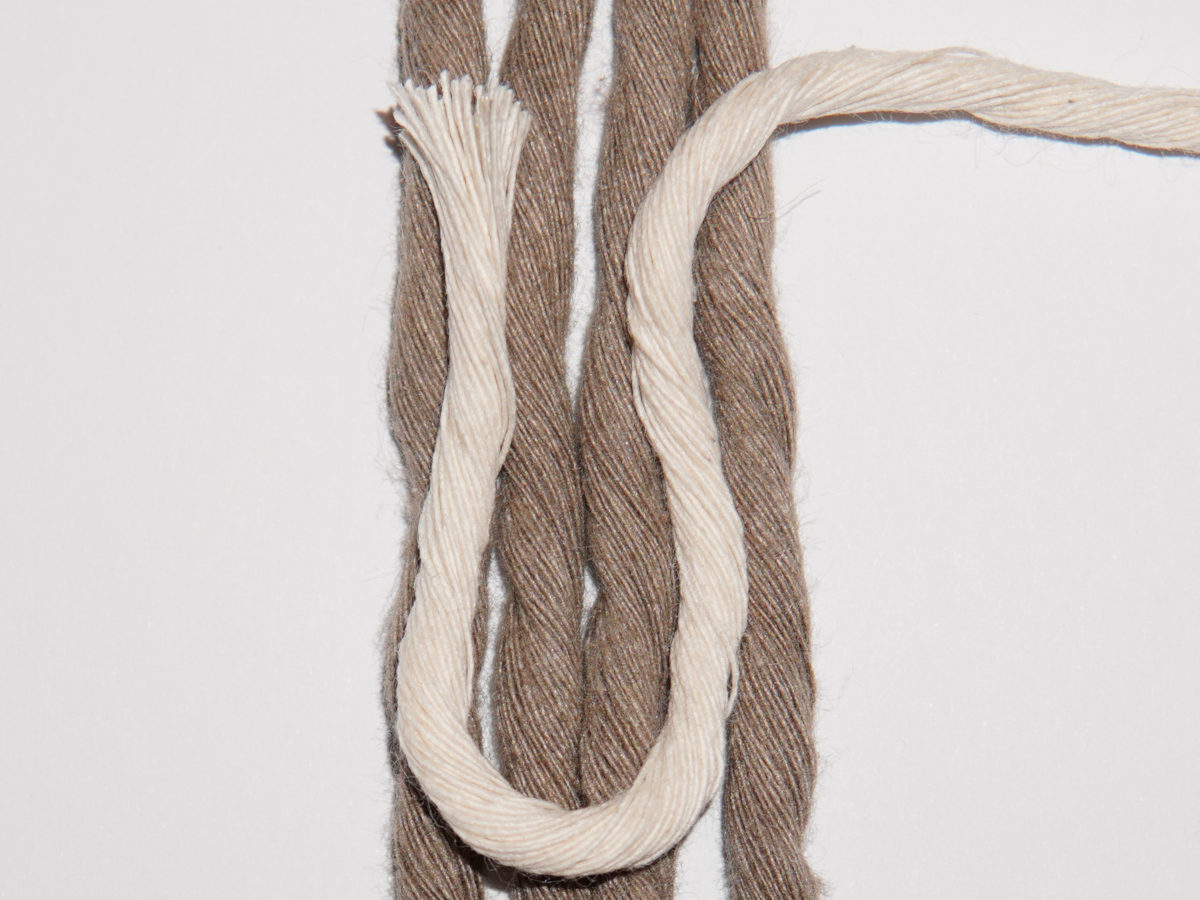
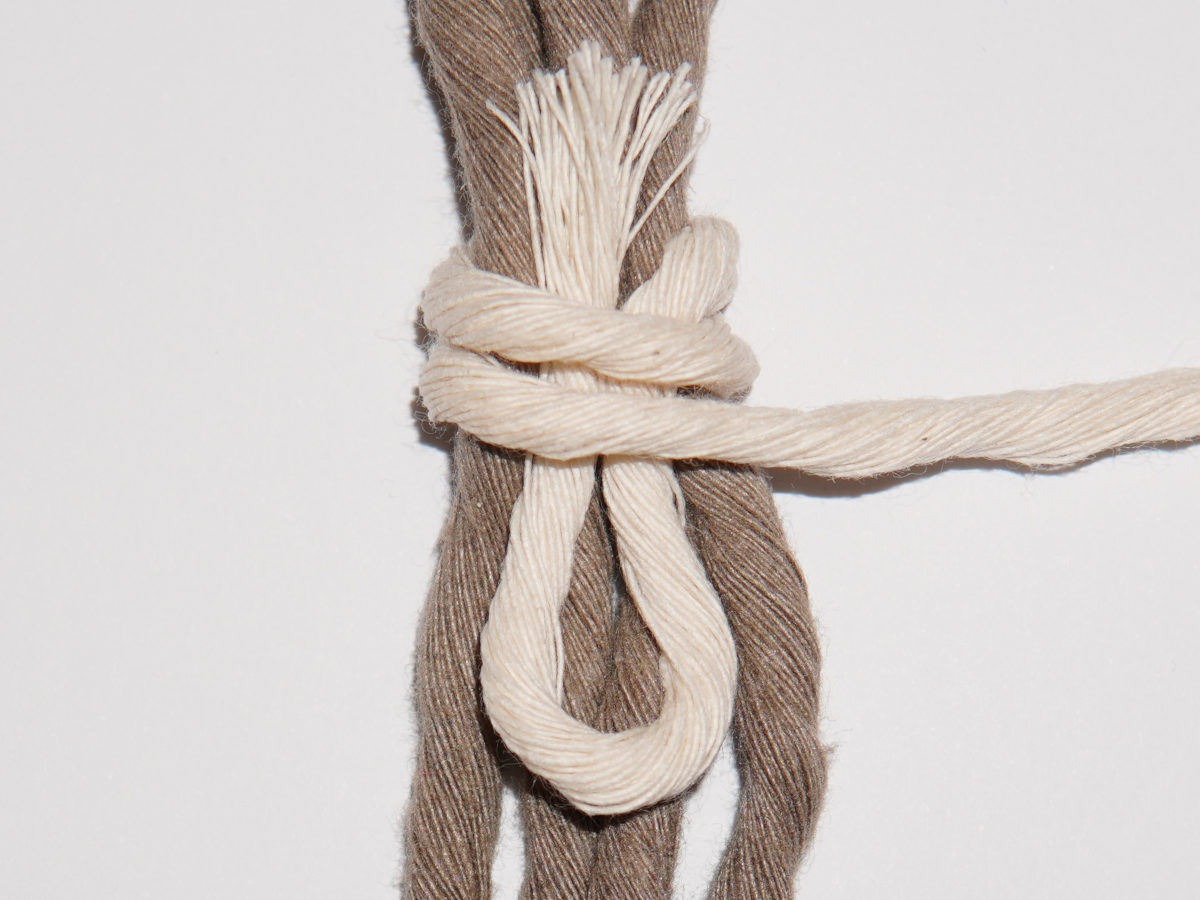
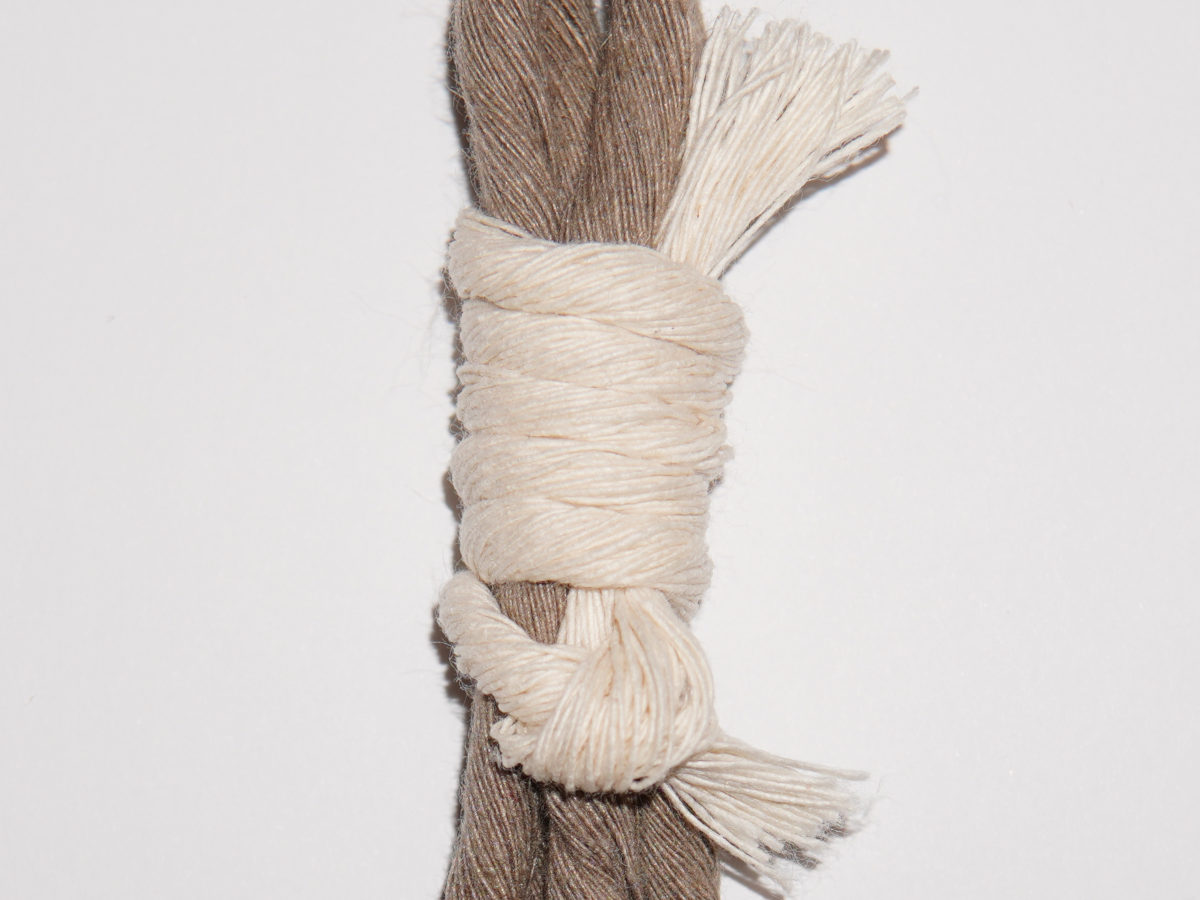
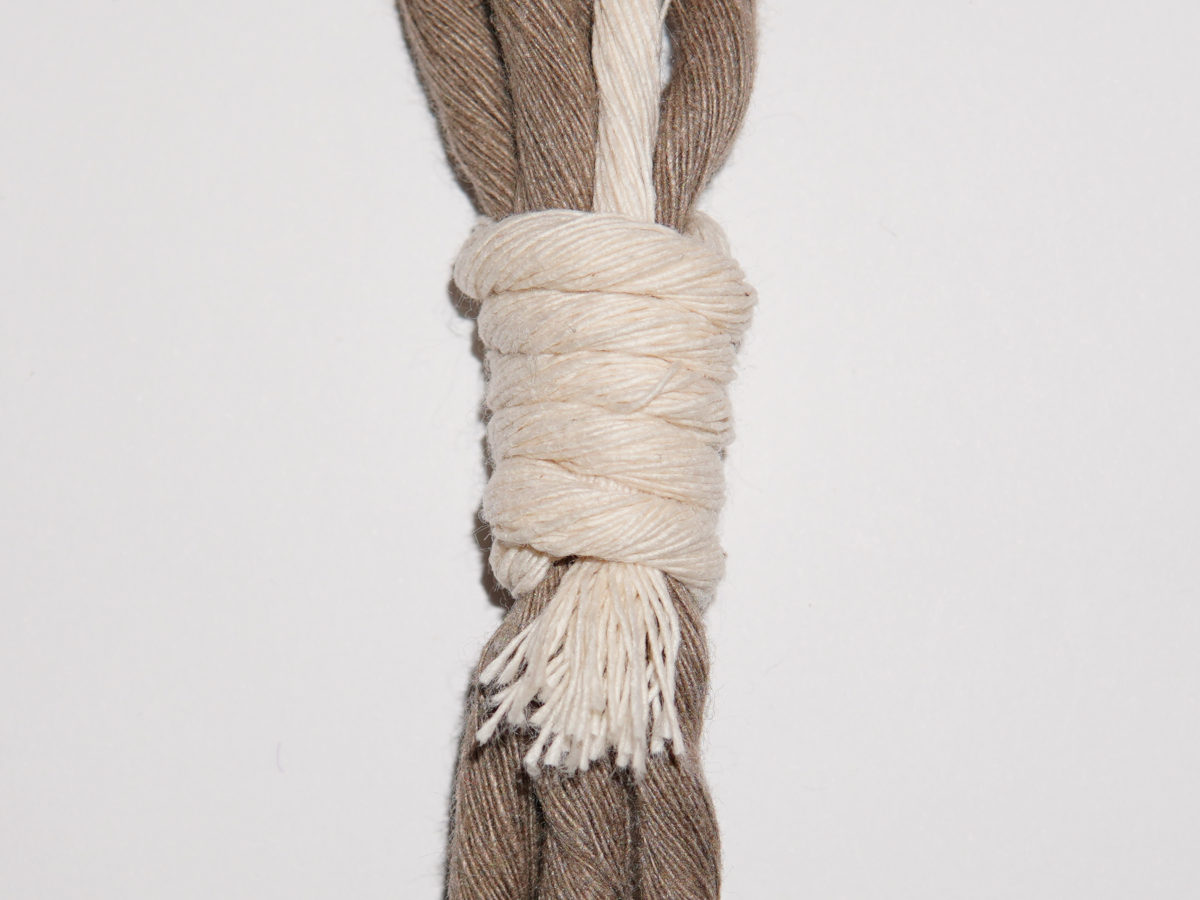
The wrapping knot, also known as a gathering knot, is also suitable for finishing off a knotted piece of work. It can also be used to attach the strands to a ring, such as in a plant hanger.

Schwere Feder Teil 1

1

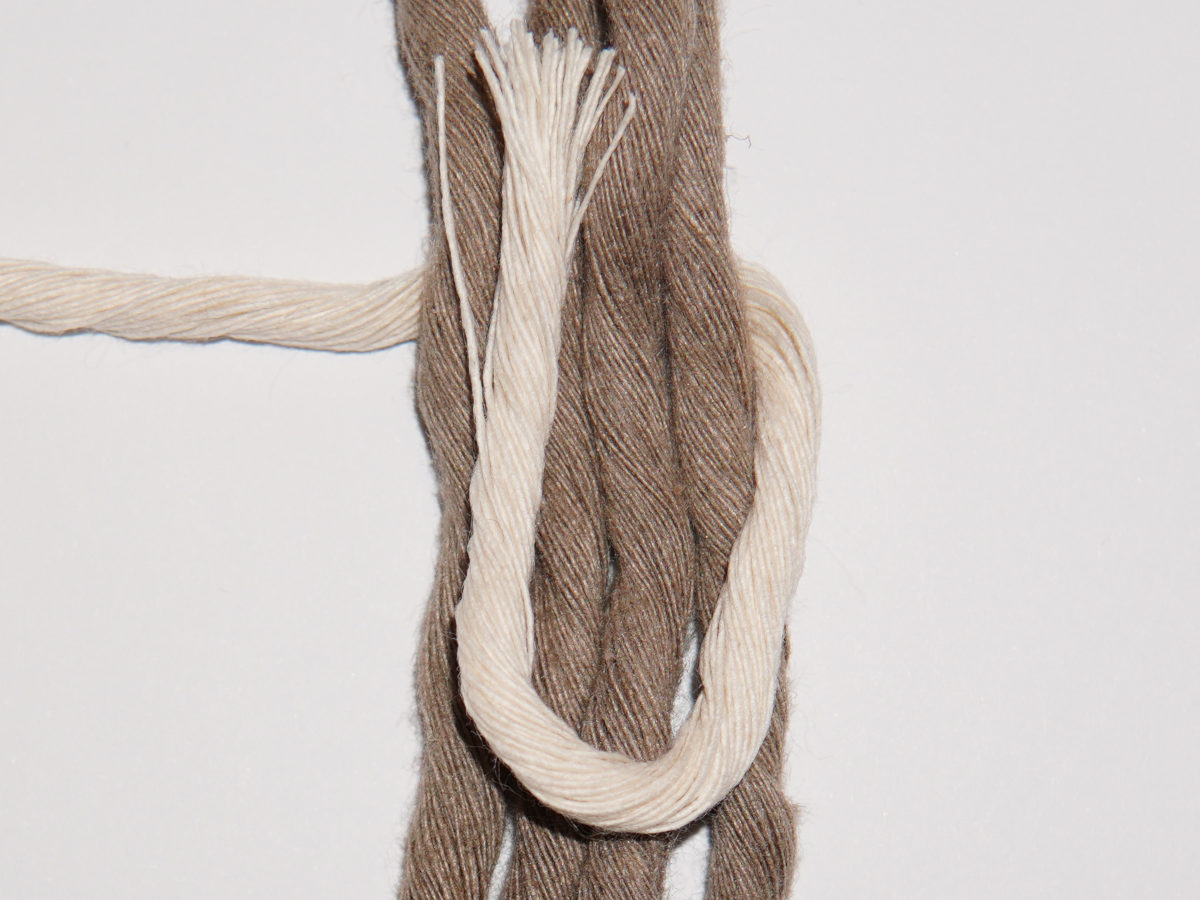
You will need a piece of cord, which is the working cord (light-coloured strand). The length of the cord depends on the size of the wrapping knot. I would take about 3 times as much as the desired length, but always take a little more to be on the safe side. In the first step, place the end of the working cord in a U-shape on the strands to be bundled (dark strands).

Schwere Feder Teil 1

2

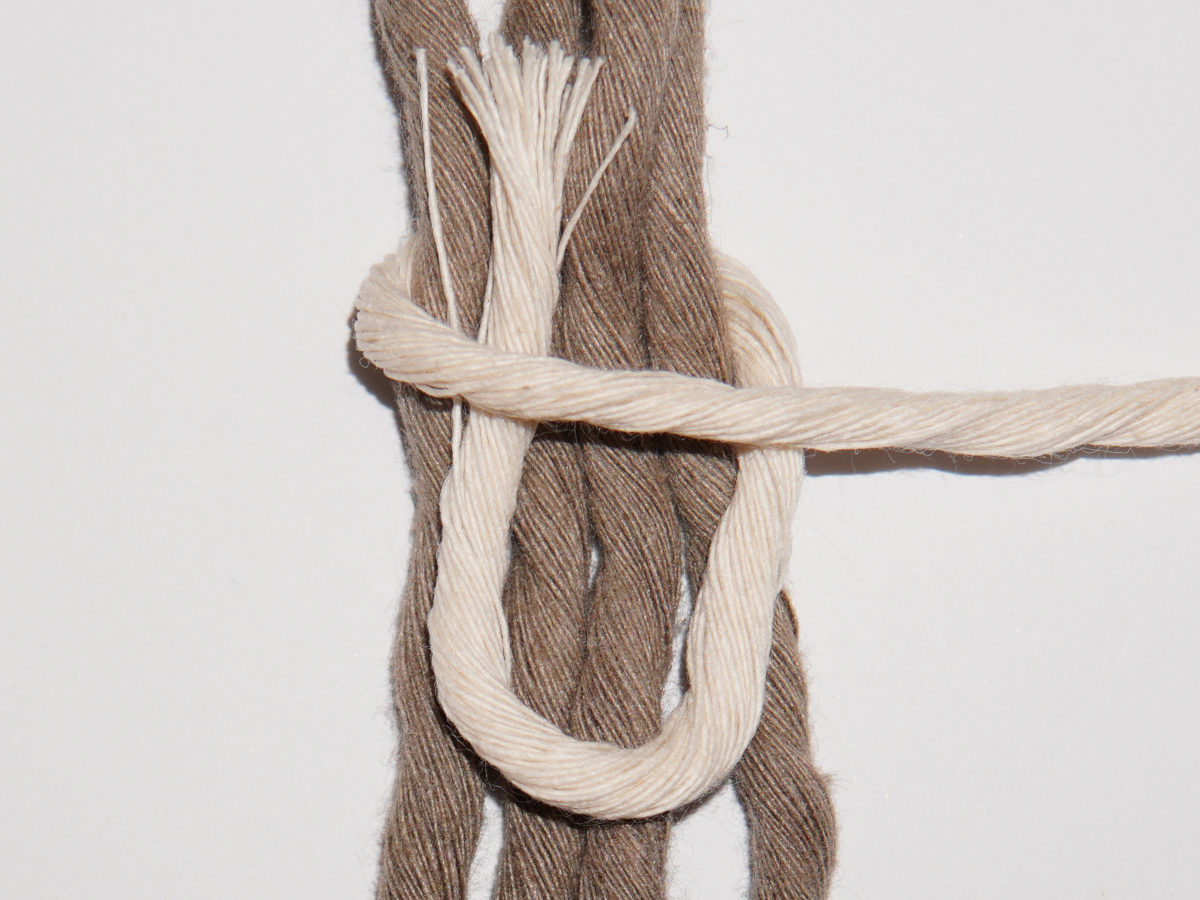
Then take the long end of the working cord and guide it behind the strands to be bundled.

Schwere Feder Teil 1

3

Then guide the working cord forwards.

Schwere Feder Teil 1

4

And then back again. Make sure that the U-shape is maintained.

Schwere Feder Teil 1

5

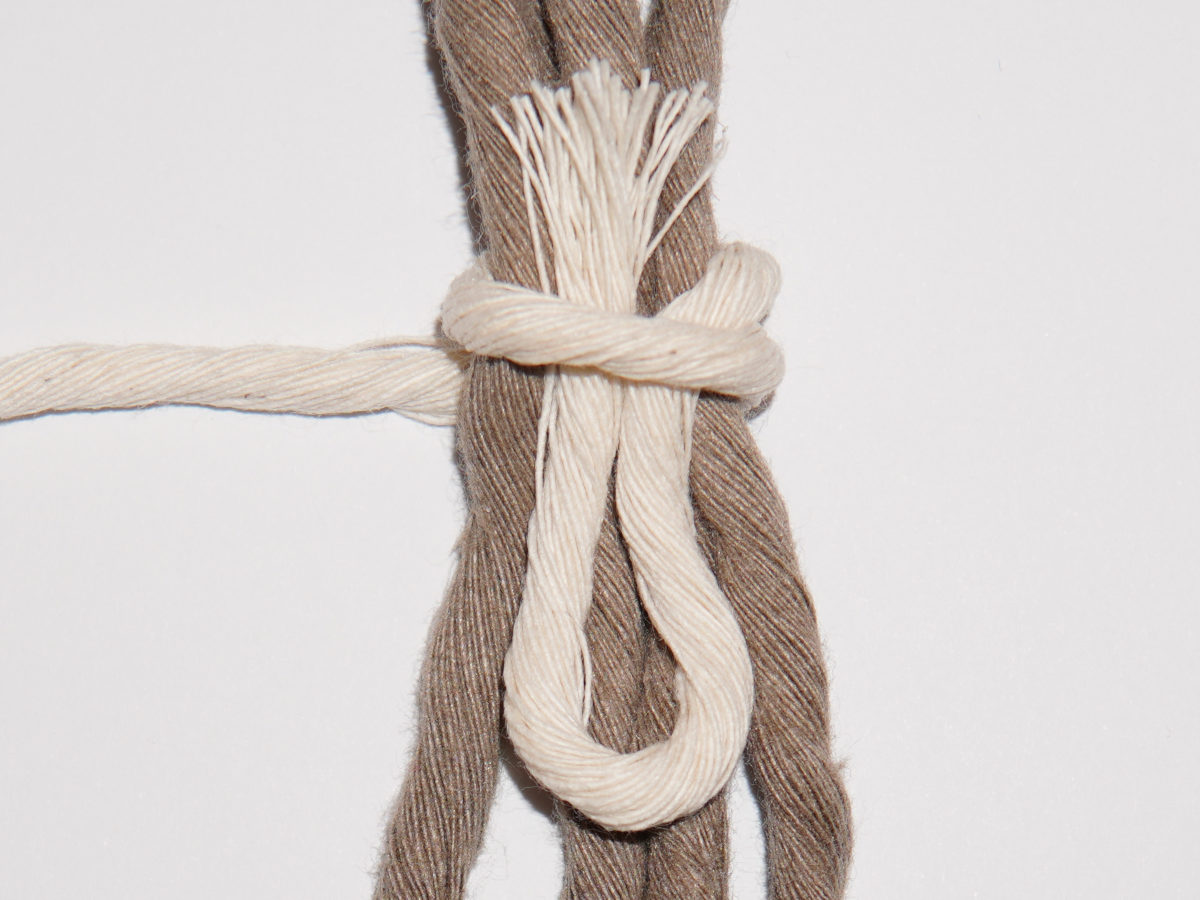
Then wrap the strand forwards again. Make sure that there are no gaps between the wraps to create an even image.

Schwere Feder Teil 1

6

Continue to wrap the strand around the strands to be bundled until you have reached the desired size of the knot.

Schwere Feder Teil 1

7

Then take the lower end of the cord and pull it through the loop from the original U-shape.

Schwere Feder Teil 1

8

Now pull very carefully on the upper end of the cord. Pull on it until the loop disappears under the knot (you will notice this with a little tug). Now simply cut off both ends of the working cord (this has not yet been done here).

Now you know which knots you can use to finish a macrame project. If you don’t understand a step or have further questions, feel free to write in the comments.

Have fun knotting!
0 Comments

Submit a Comment

Your email address will not be published. Required fields are marked *