The macrame feather is one of the lightest and smallest macrame projects there is. But not only is it particularly quick and easy to make, it is also particularly suitable for utilising leftovers. The feather is surprisingly versatile in its use: whether as a small wall hanging, as a key ring or to decorate larger wall hangings. In this macrame feather tutorial, I will show you three ways to knot this feather.
The patterns are organised according to difficulty level, although all of them are doable for beginners.
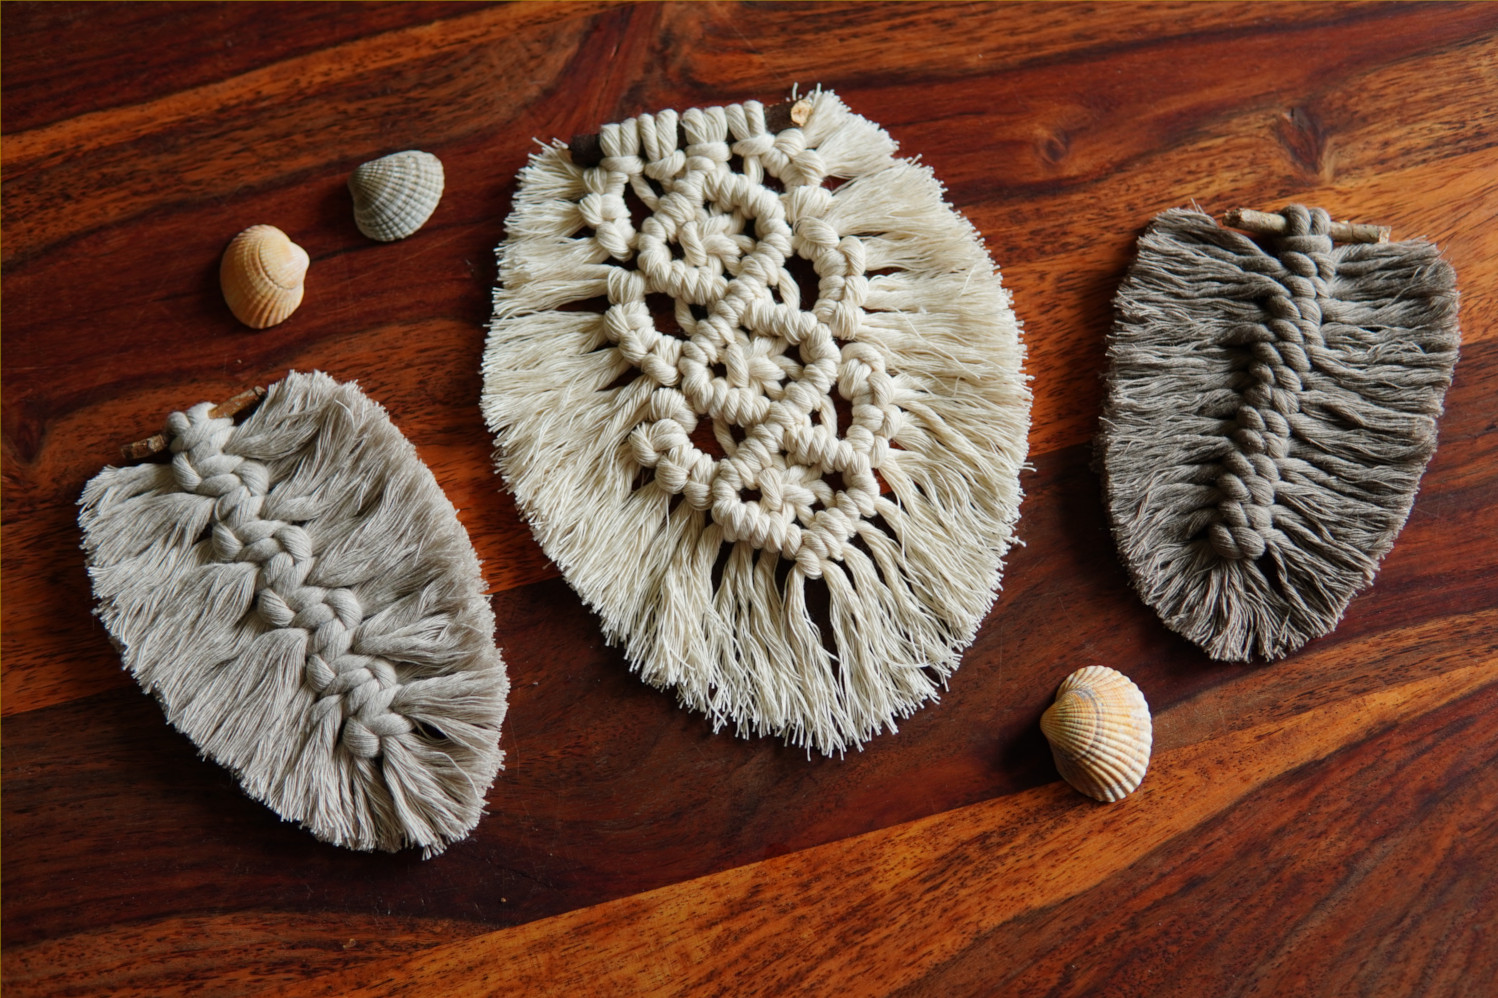
I have knotted the feathers on small branches, but you can also use key rings or leave the ends unattached.
So get knotting!
Table of Contents

Macrame Feather – Simple
Materials
- cord 3mm or 5mm
- branch or similar
- scissors
- comb/fork
Instruction
Basically, you need a long cord that is at least twice as long as your desired feather length and several short cords that are slightly longer than the width of the feather.
This feather has a cord thickness of 5mm and a final size of 10cm wide and 14cm long. I used a 32cm cord and 13x 15cm long pieces of cord.

1

2

3

4

5

6
When you are ready, you can brush the ends with a comb or a cake fork (this works surprisingly well) so that the ends twirl up.

7
Last but not least comes the styling. Take a pair of scissors and trim the ends to create a nice shape. That’s it!
Macrame Feather – Medium
Materials
- cord 3mm or 5mm
- branch or similar
- scissors
- comb/fork
Instruction
Basically, you need a long cord that is at least twice as long as your desired feather length and several short cords that are slightly longer than the width of the feather.
This feather has a cord thickness of 5mm and a final size of 10cm wide and 15cm long. I used a 35cm cord and 18x 14cm long pieces of cord.

1
First, we make a double half-loop around a branch or similar with the doubled long cord. Or you can simply leave the cord doubled without a branch or similar.

2

3
Take a second shorter piece of cord and double it. Then take the two ends of the first cord and carefully wrap the second cord around them. Then take the ends of the second cord and pass them through the loop of the first cord.
It’s a bit fiddly, but it should look like the picture.

4
Tighten the first knot.
Next, take another short cord and double it under the two strands.

5

6

7
Now repeat steps 3 – 6 alternately until there is no more room on the strands. I had room for a total of nine knots.

8

0 Comments