Macrame Knots – Double Half-Hitch

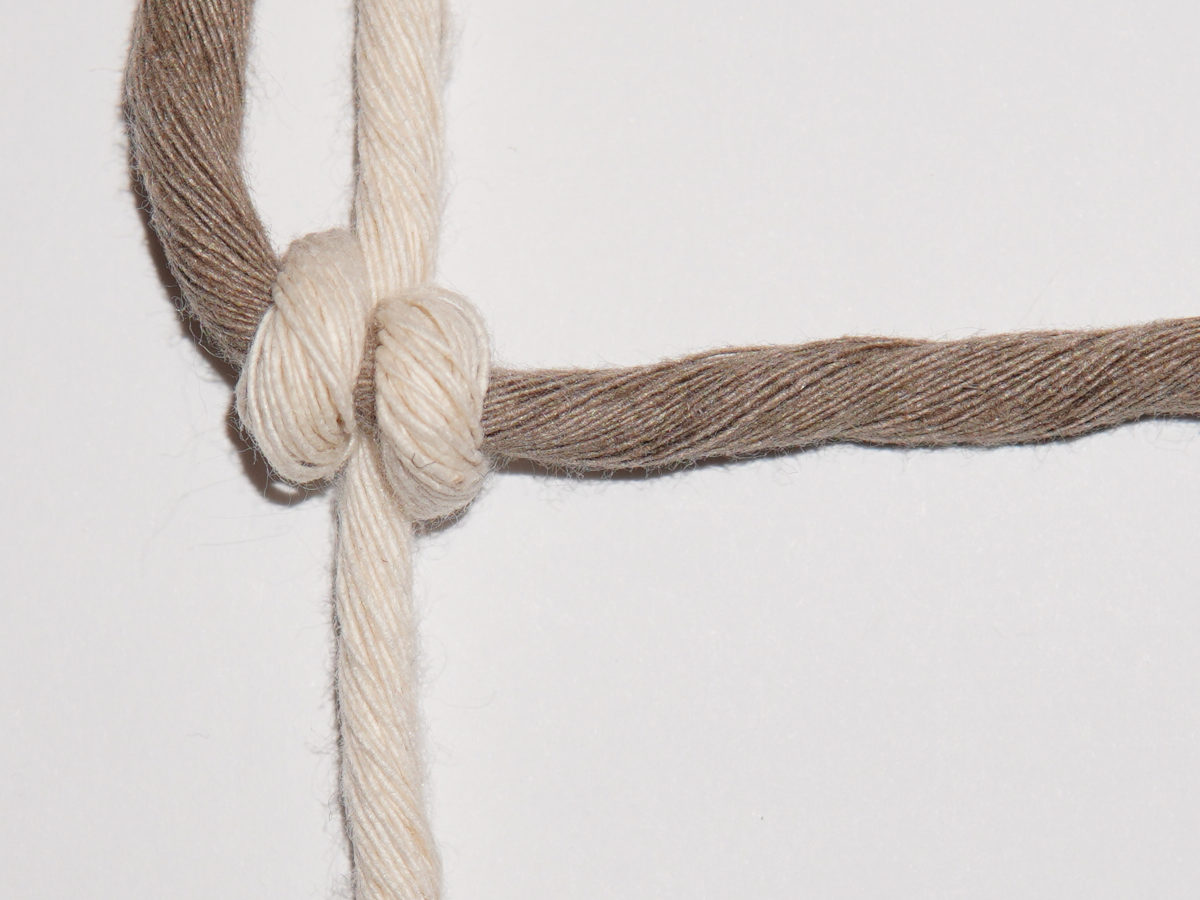
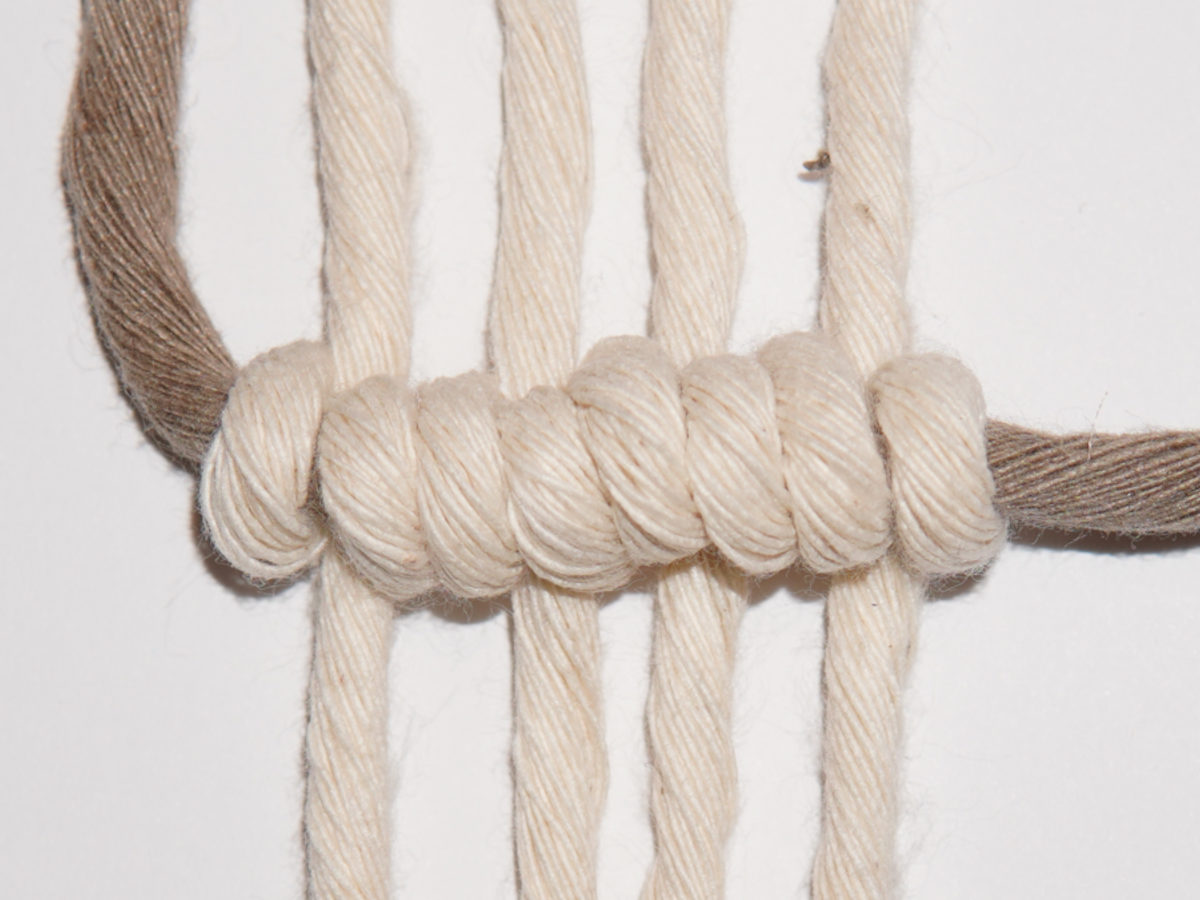
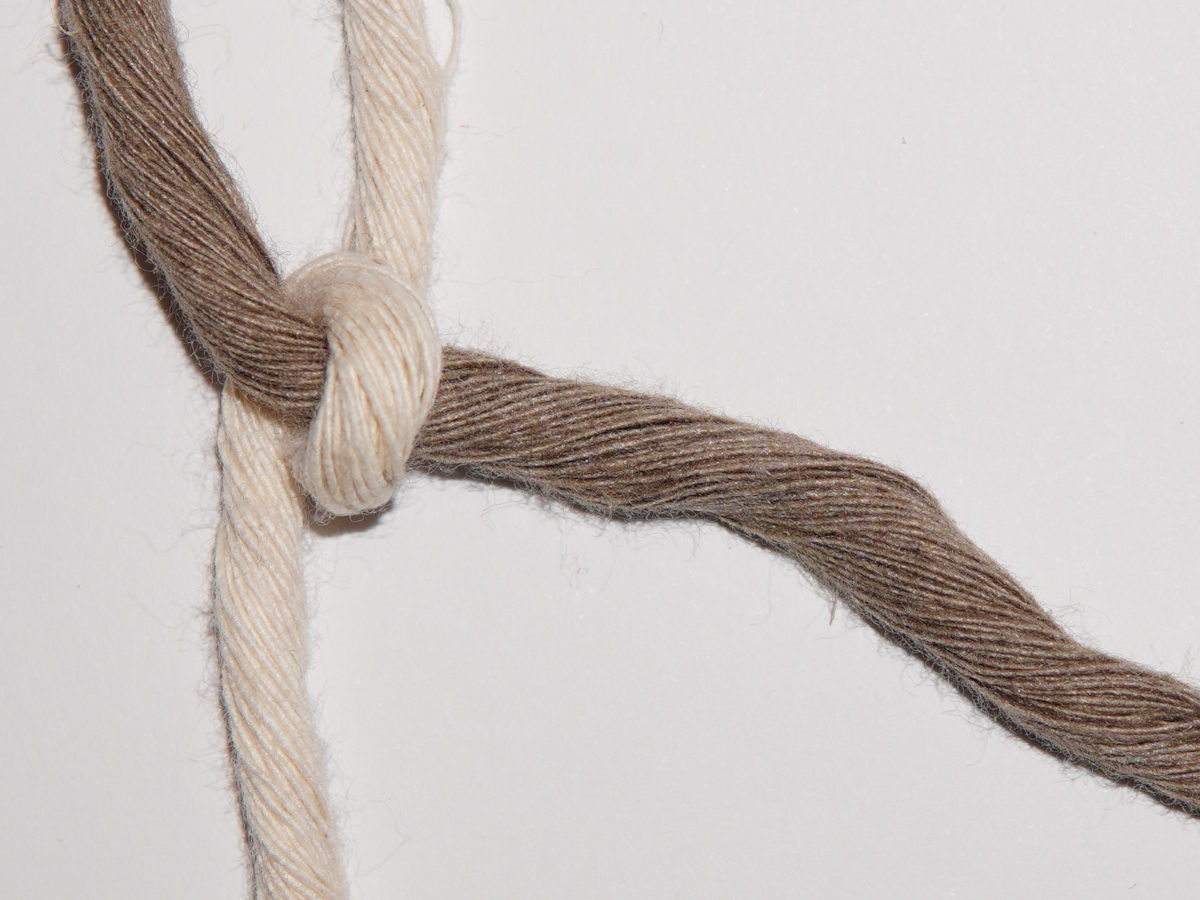
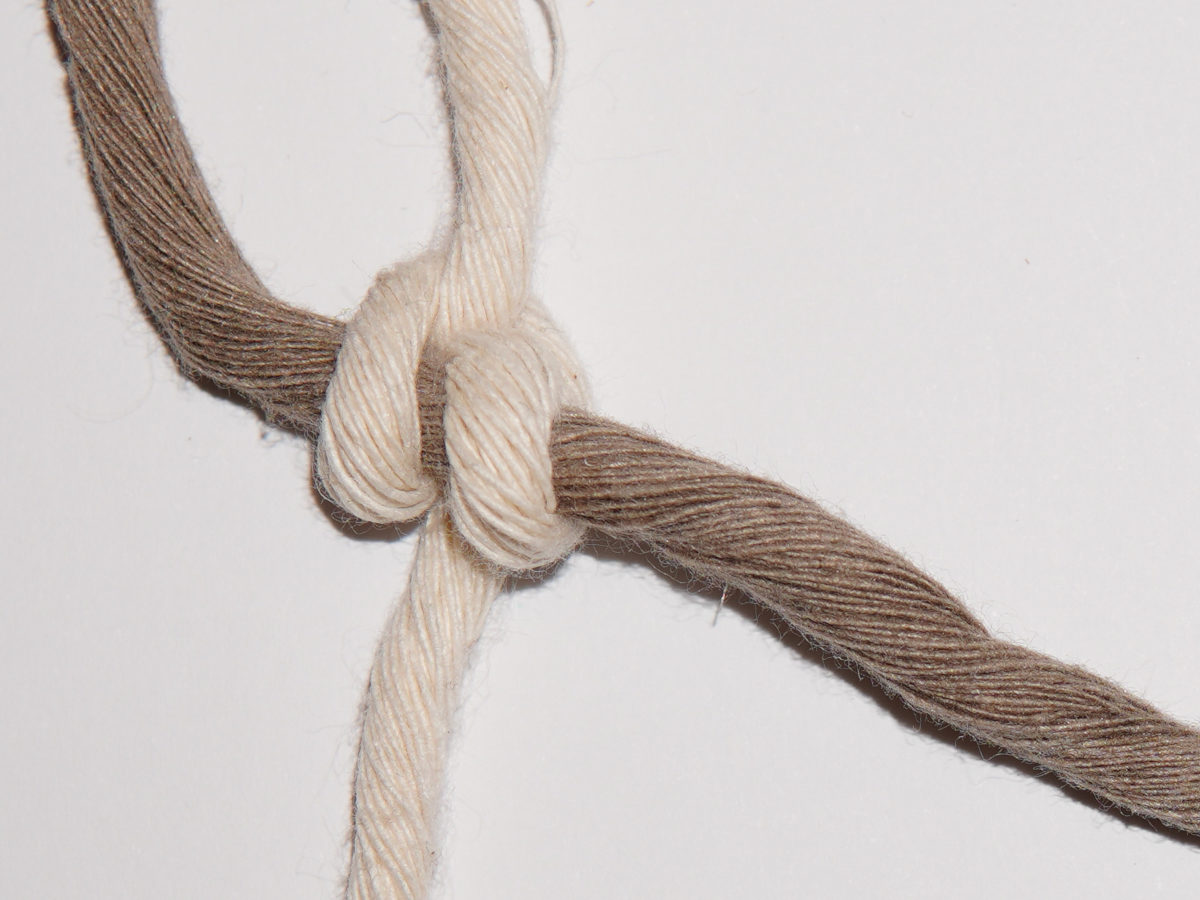
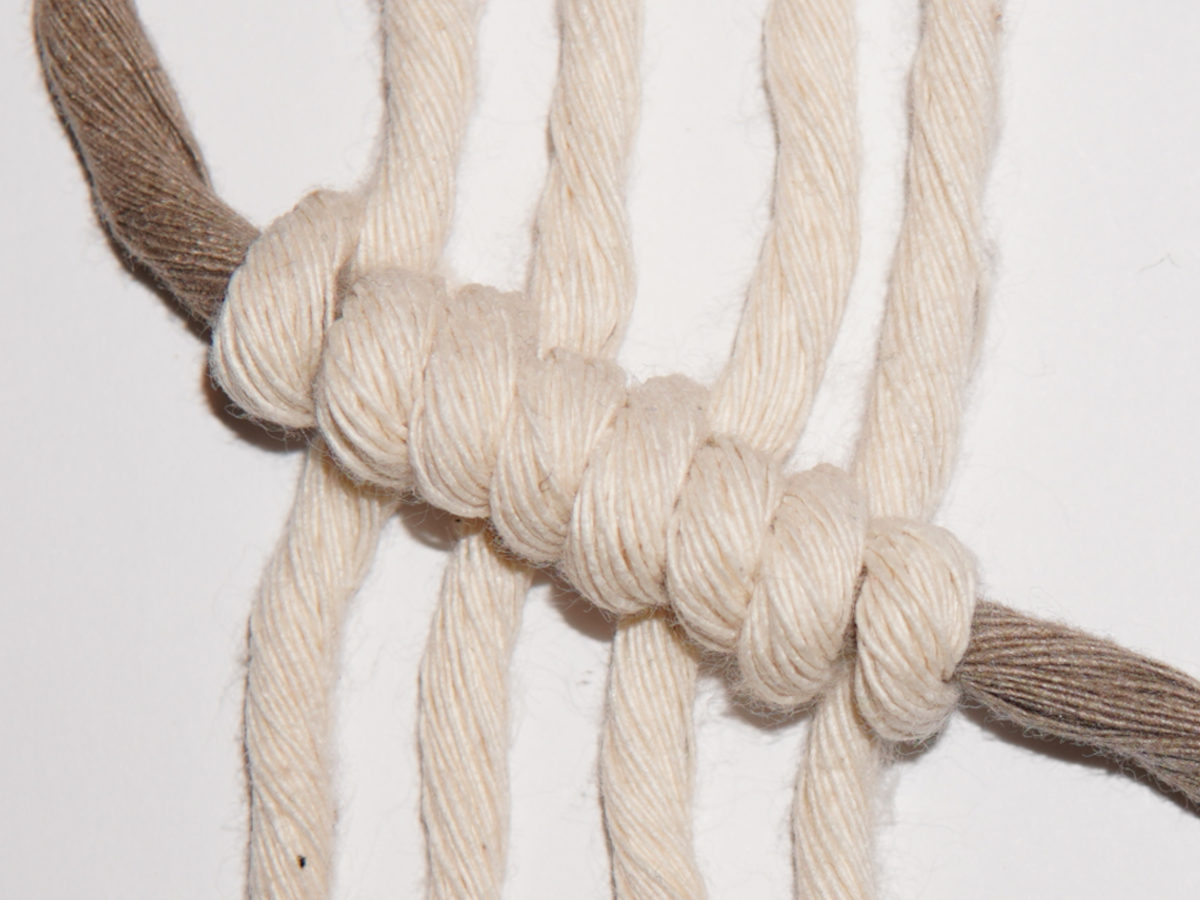
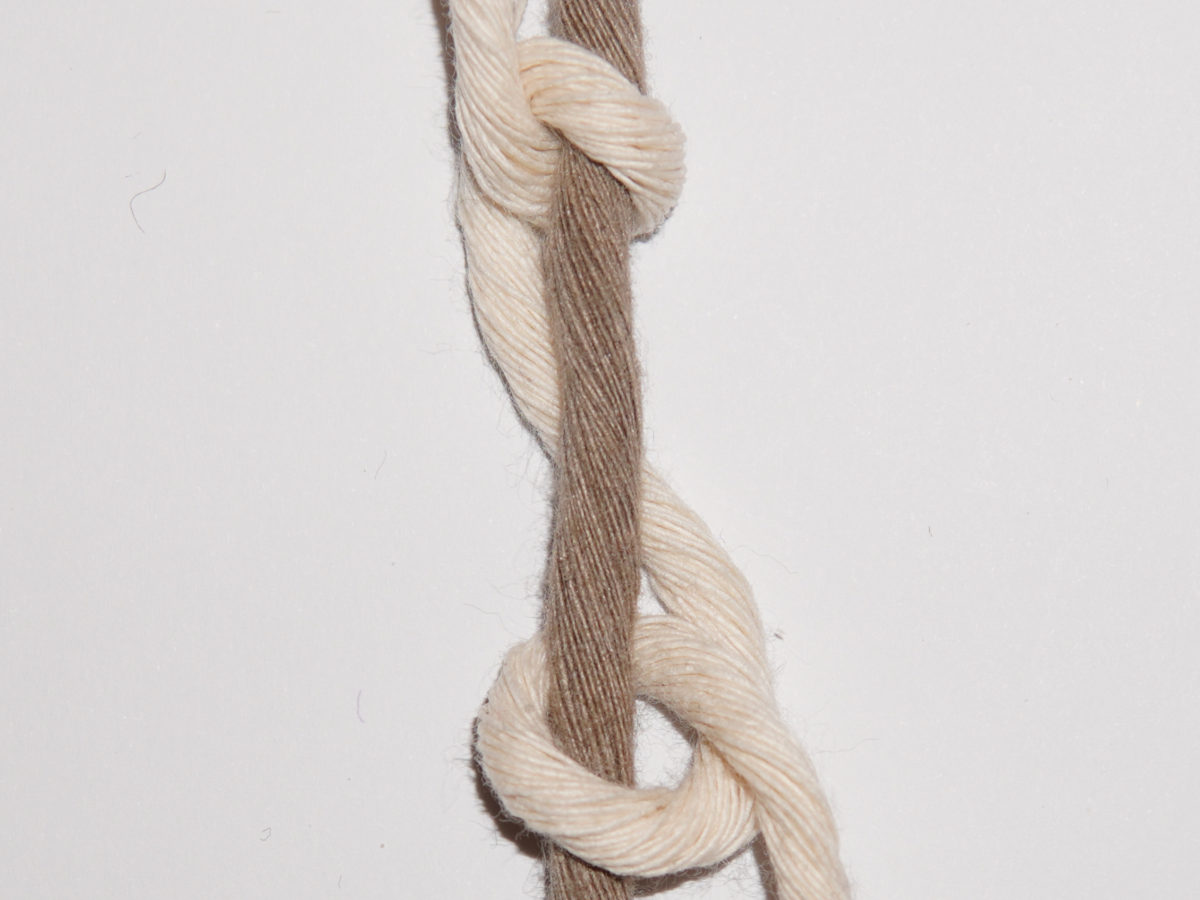
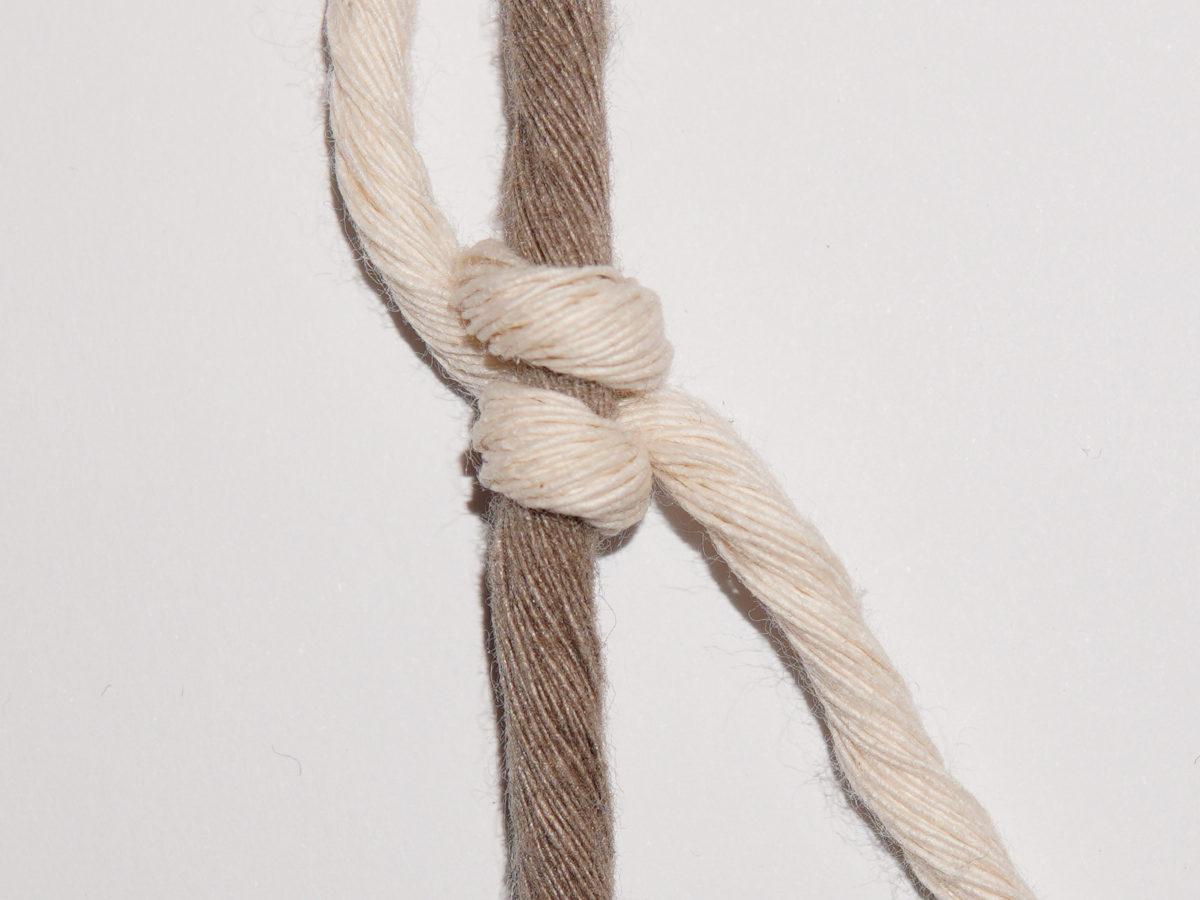
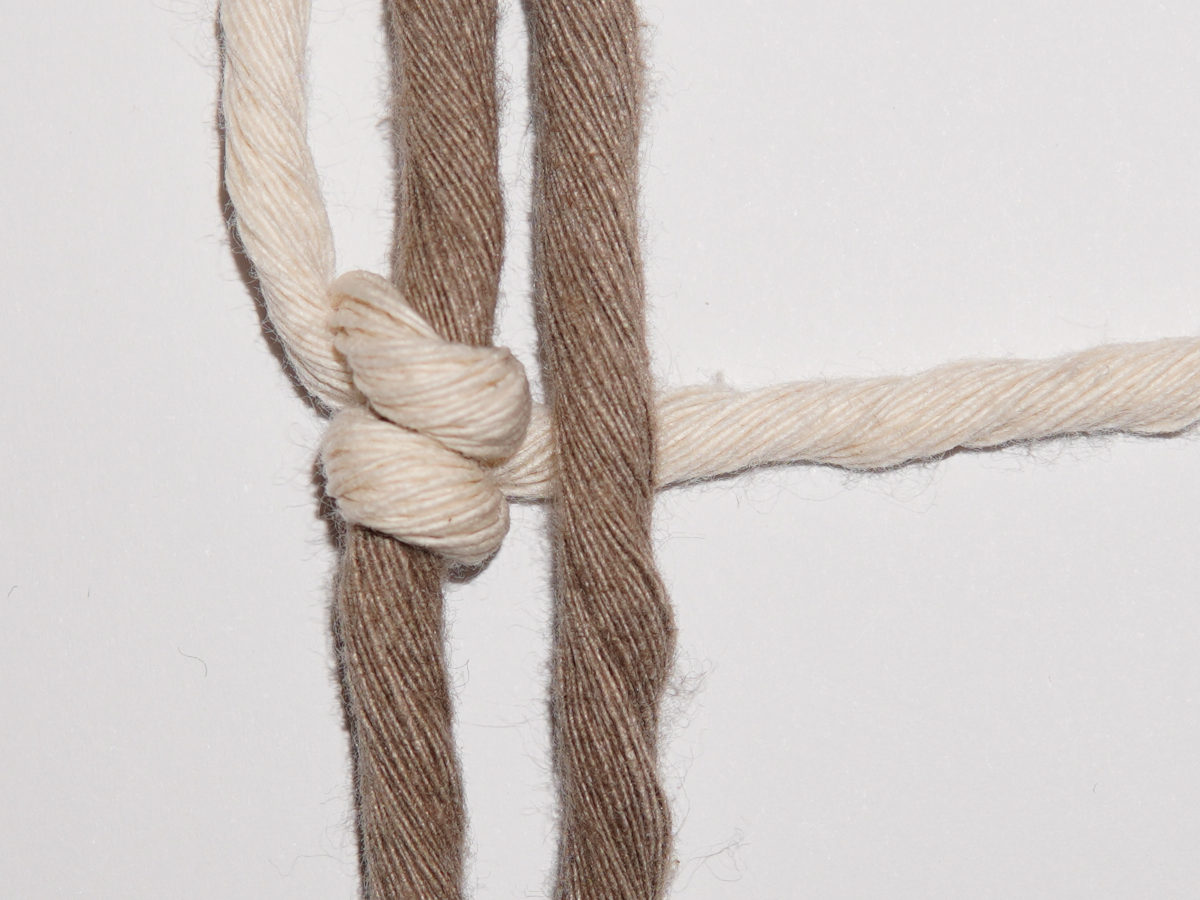
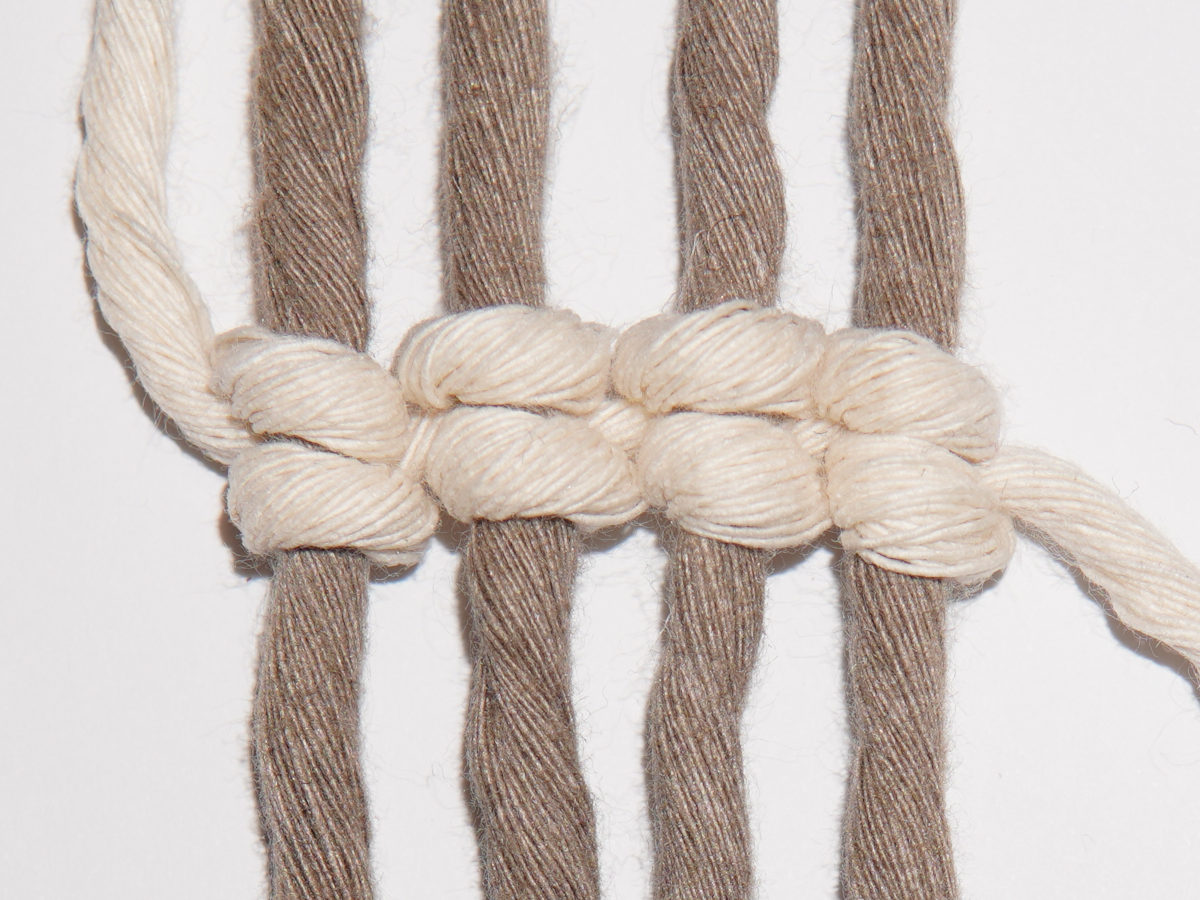
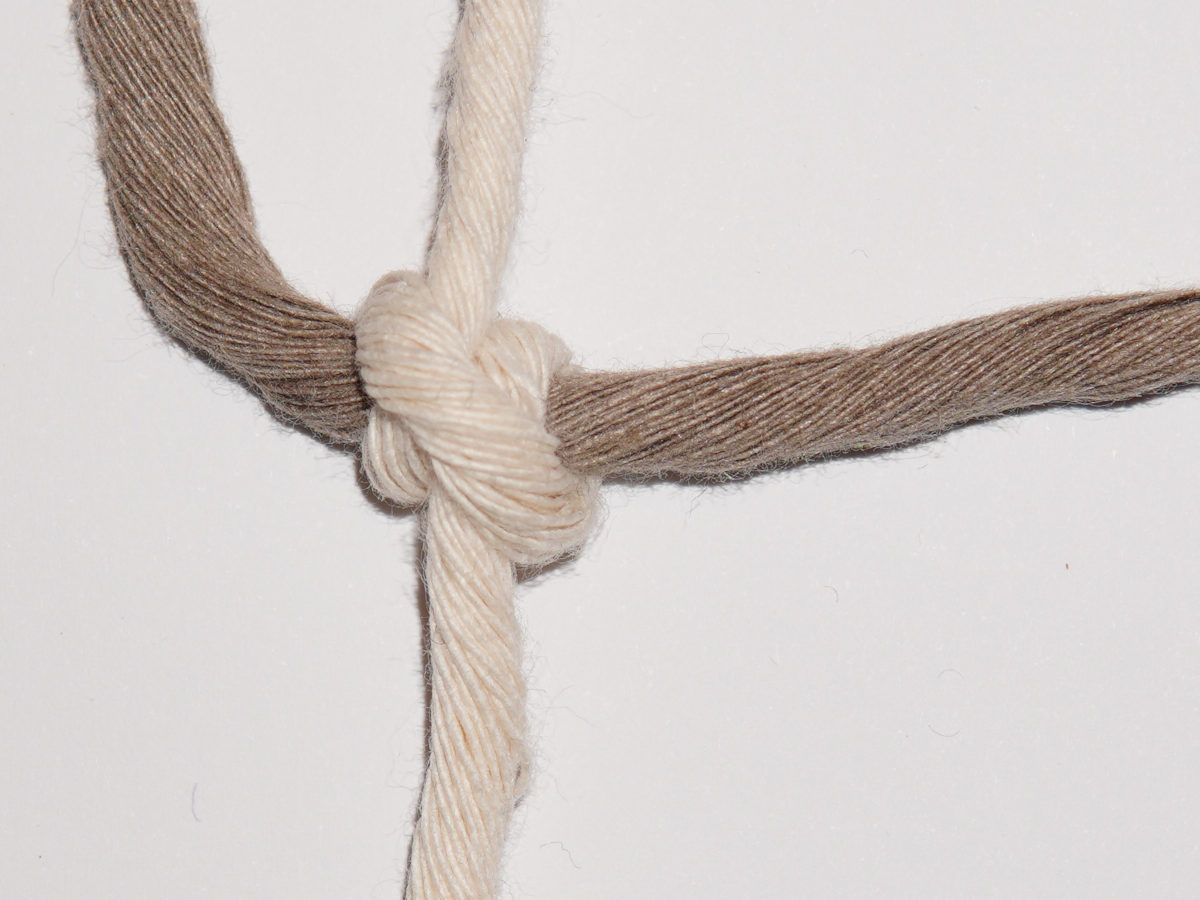
Like the square knot, the double half-hitch knot is one of the most frequently used macrame knots. Double half-hitch knots are very suitable for “framing” something, for example, or making it look like one. It is also called clove hitch knot.

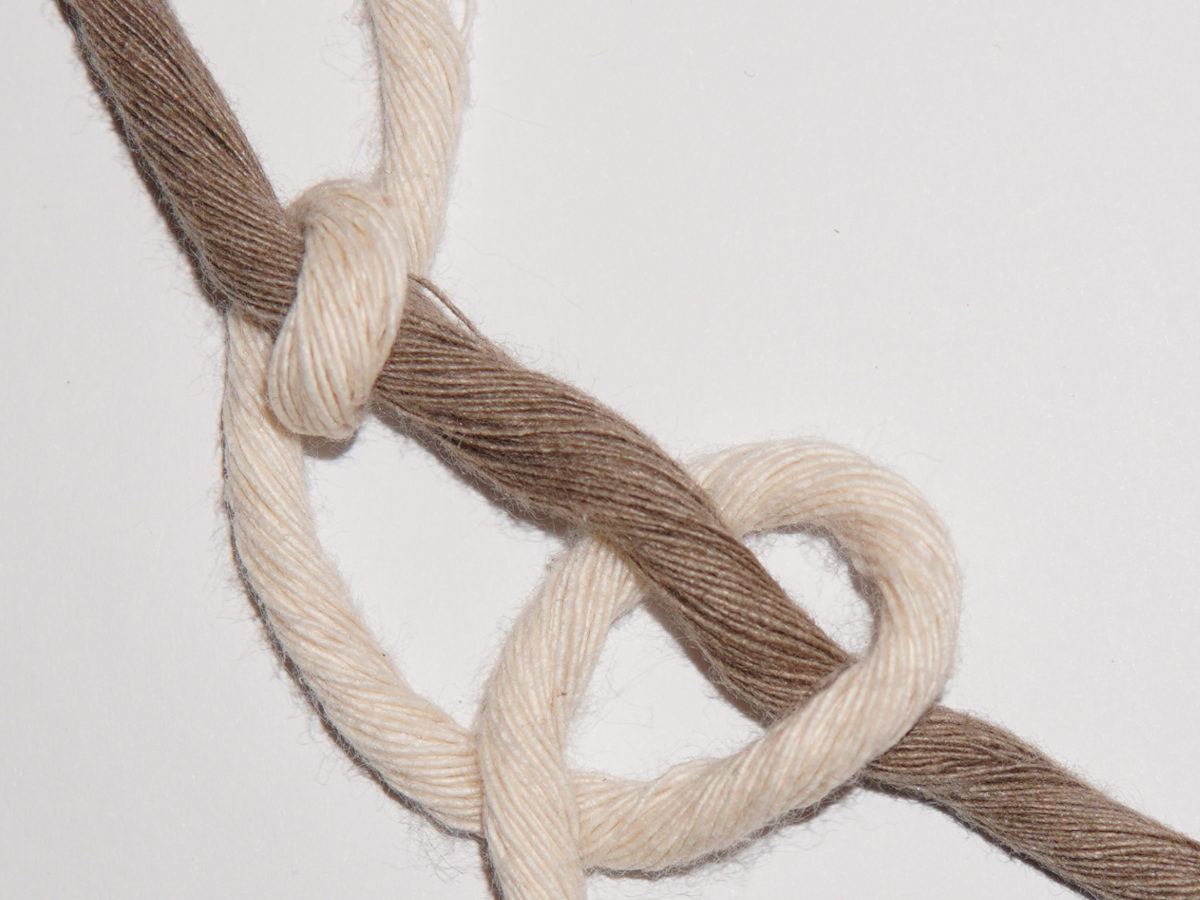
There are different variations of the double half-hitch knot. There is the horizontal version, the diagonal version, the vertical version and the reverse version. You can also tie it from right to left or from left to right. This sounds more complicated than it is, because it is always the same knot that you tie. You just hold the guide slightly differently. It determines the direction of the knot.

Table of Contents

Double Half-Hitch Horizontal

Variants

Double Half-Hitch Horizontal

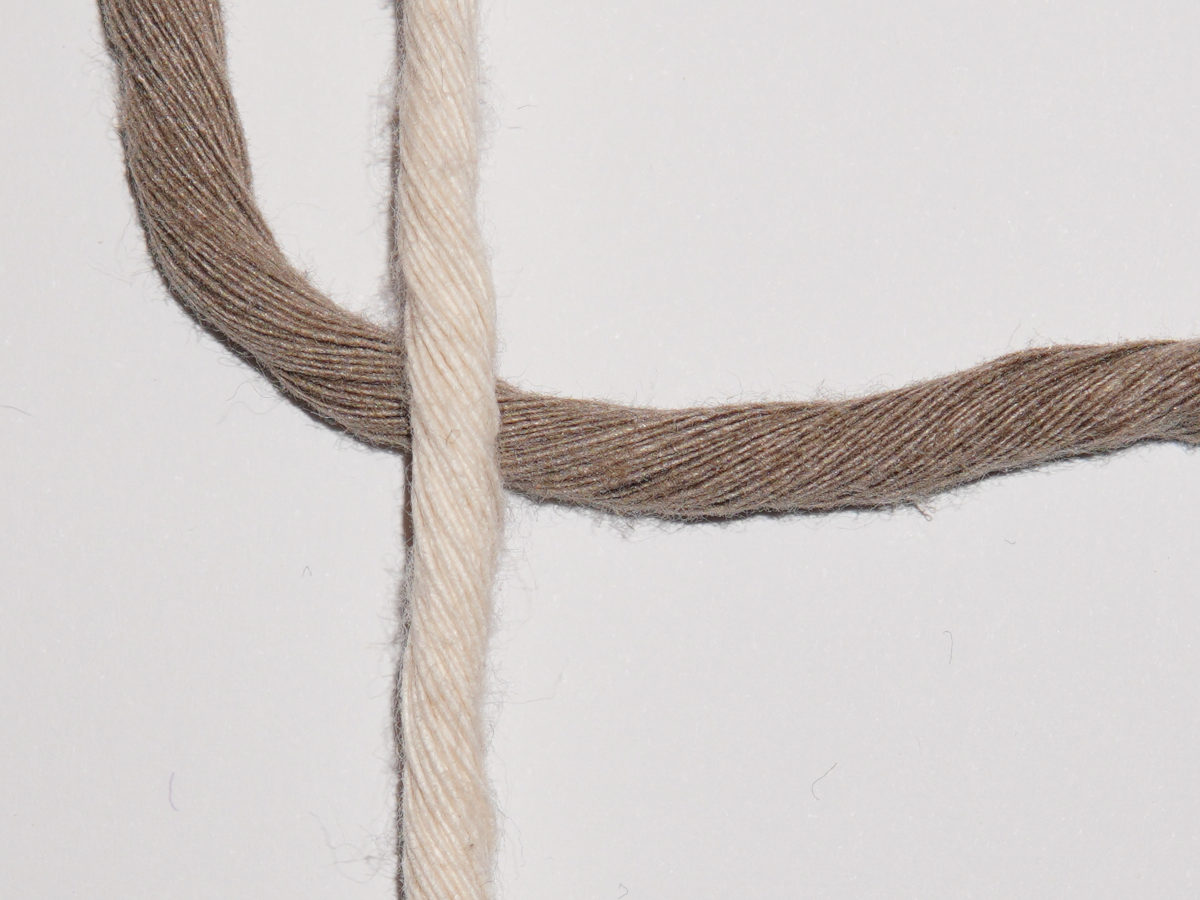
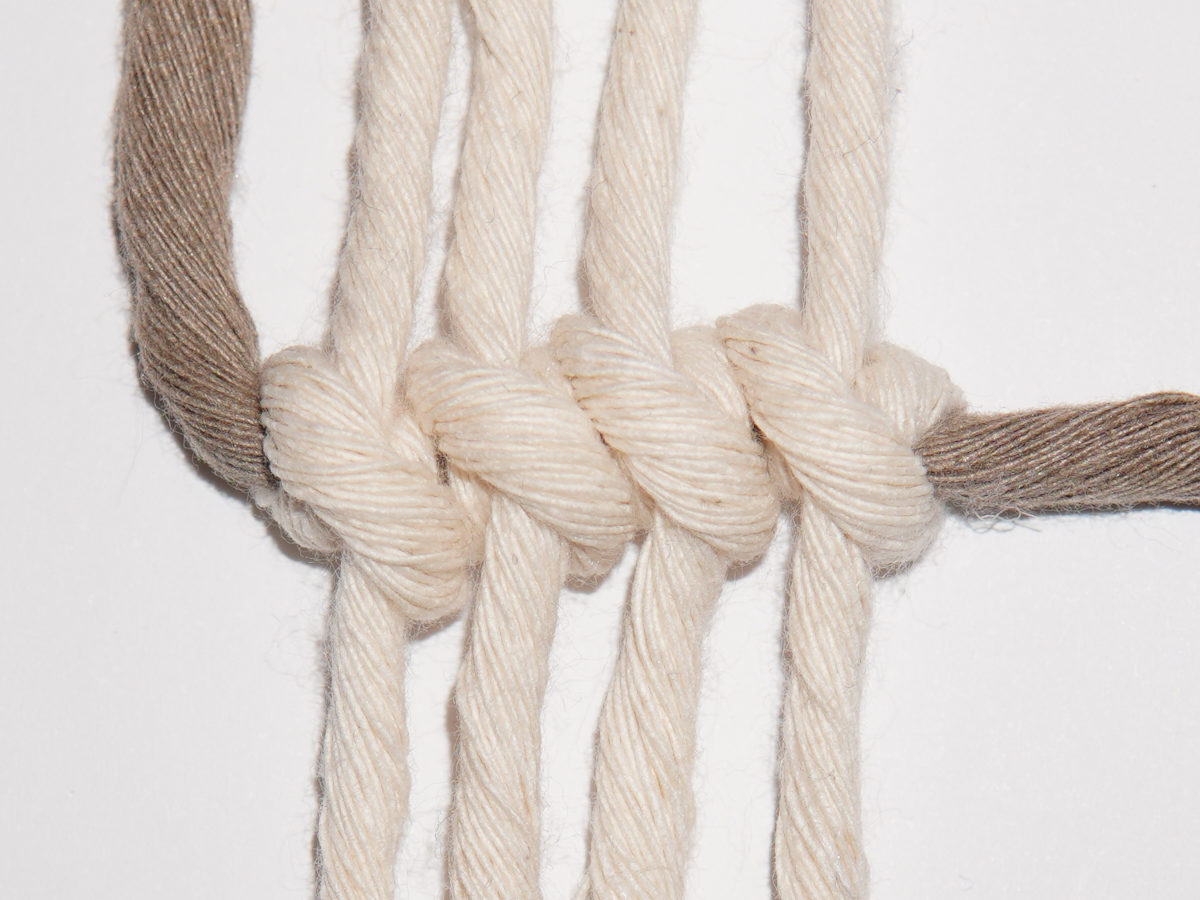
For the horizontal knot, hold the filler cord (dark strand) horizontally. The working cords hang vertically downwards. The light-coloured strand is the working cord. To make it easier to get started, there is only one working cord here in the explanation. More will be added in step 6, but you can also make further double half-hitch knots with just the one.

Schwere Feder Teil 1

1

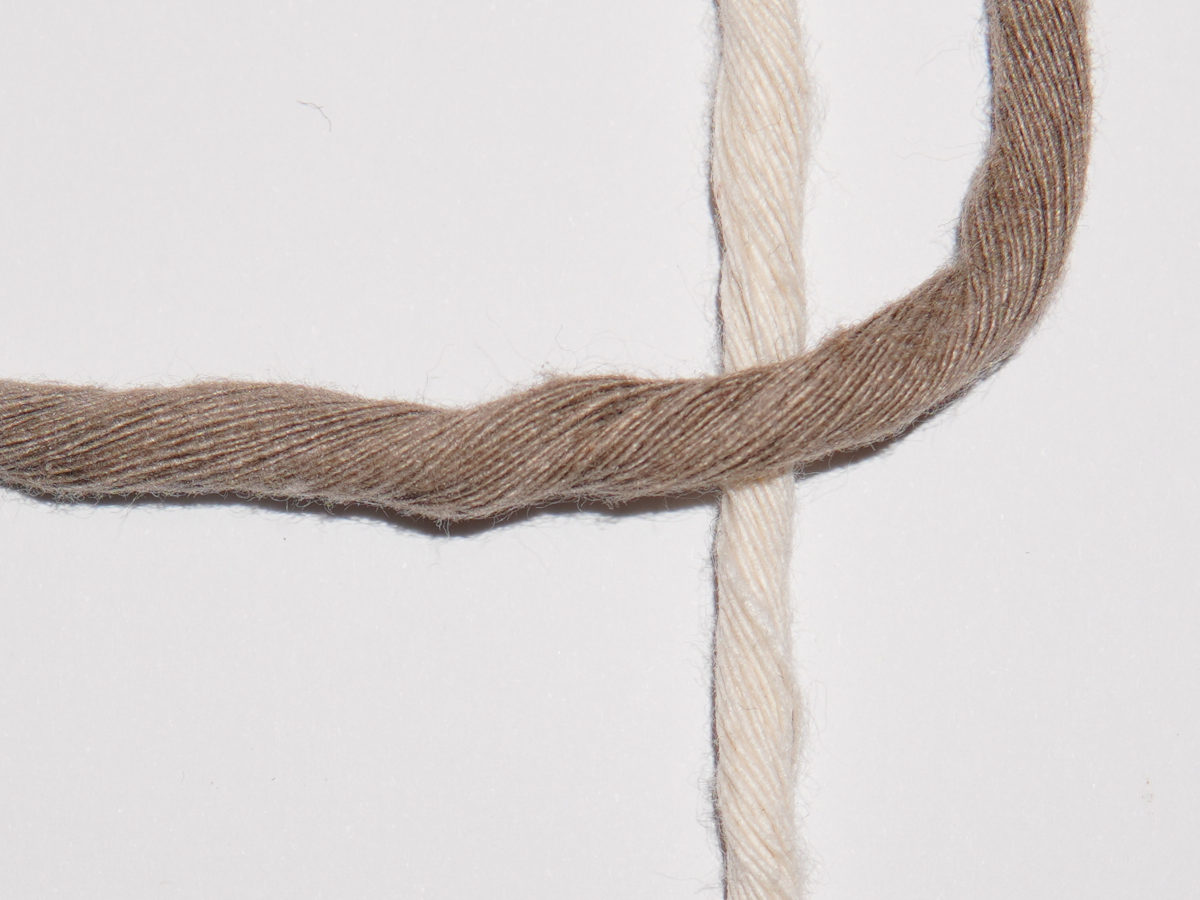
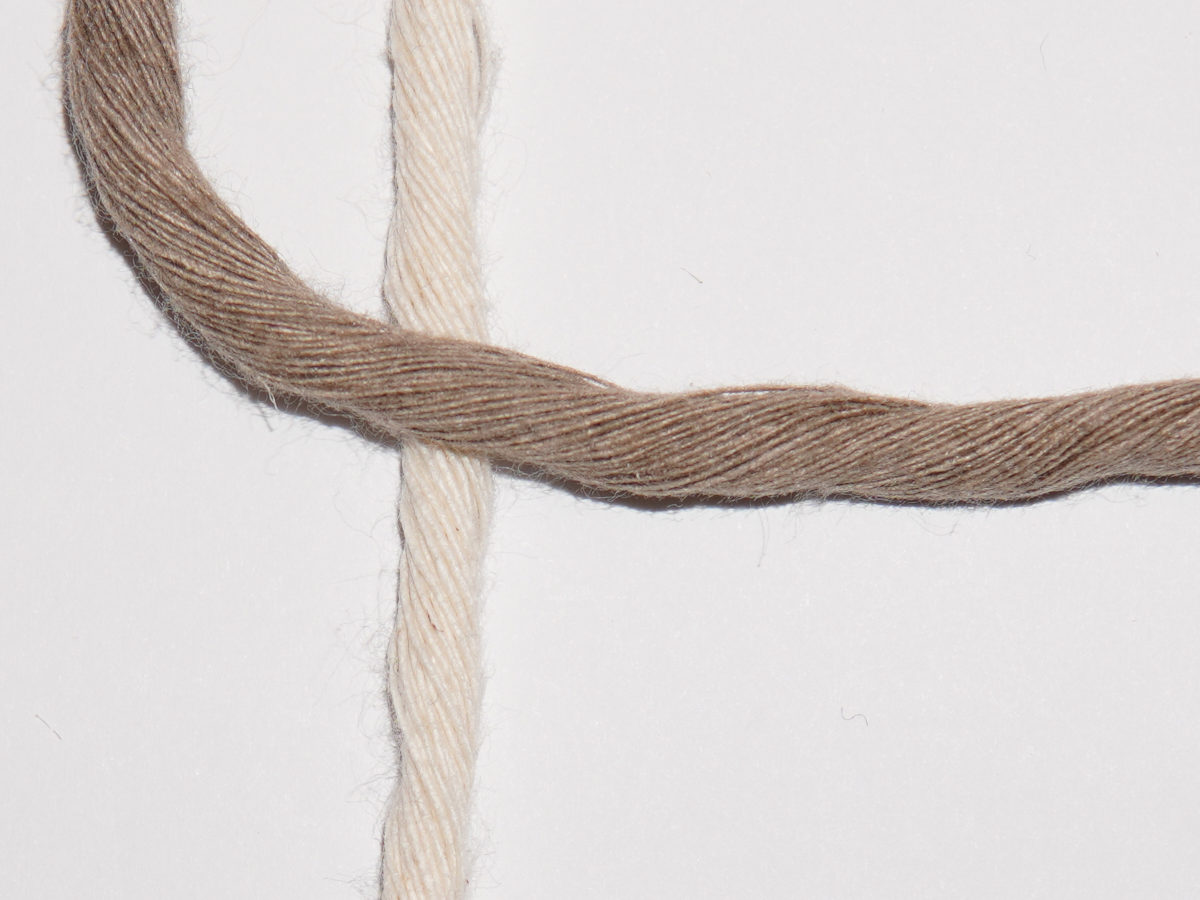
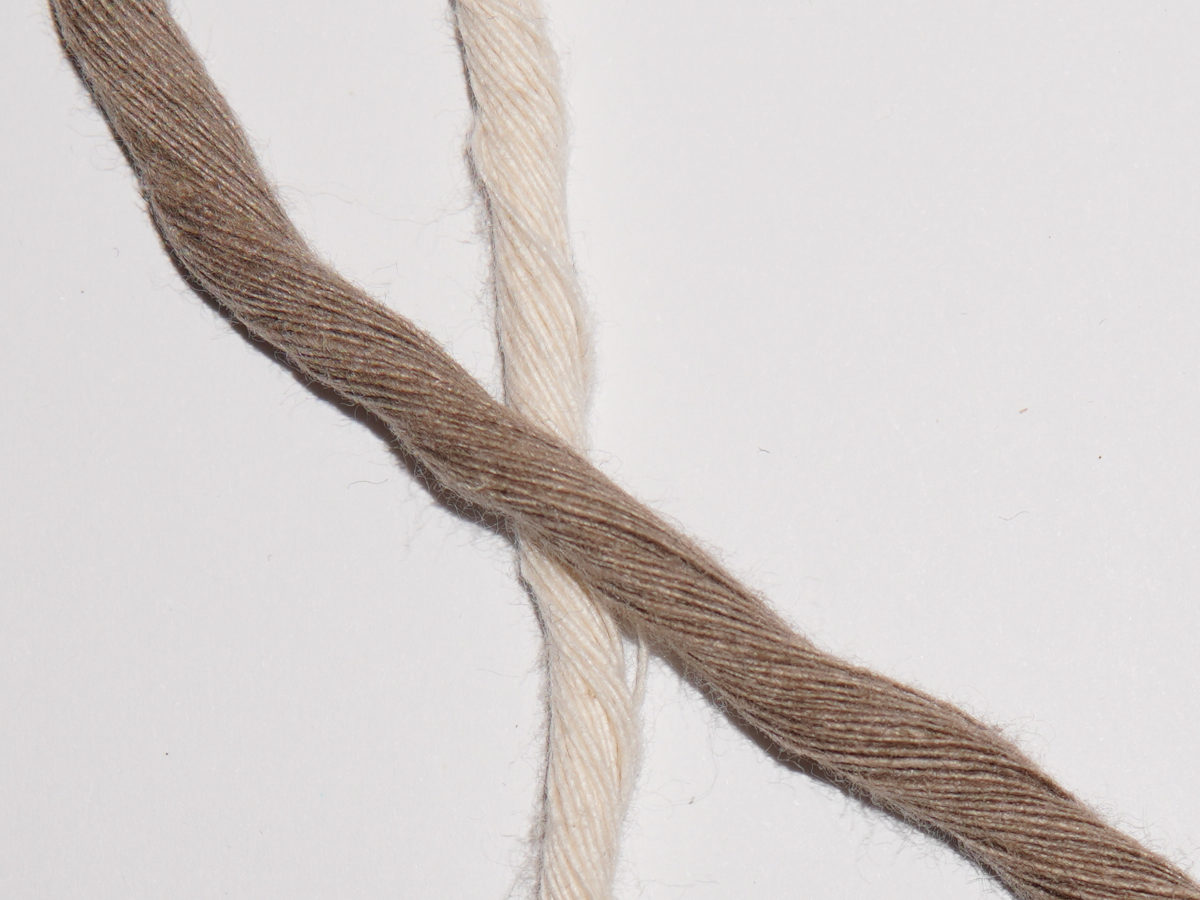
If you want to knot from right to left, start on the right by placing the working cord behind the filler cord.

Schwere Feder Teil 1

2

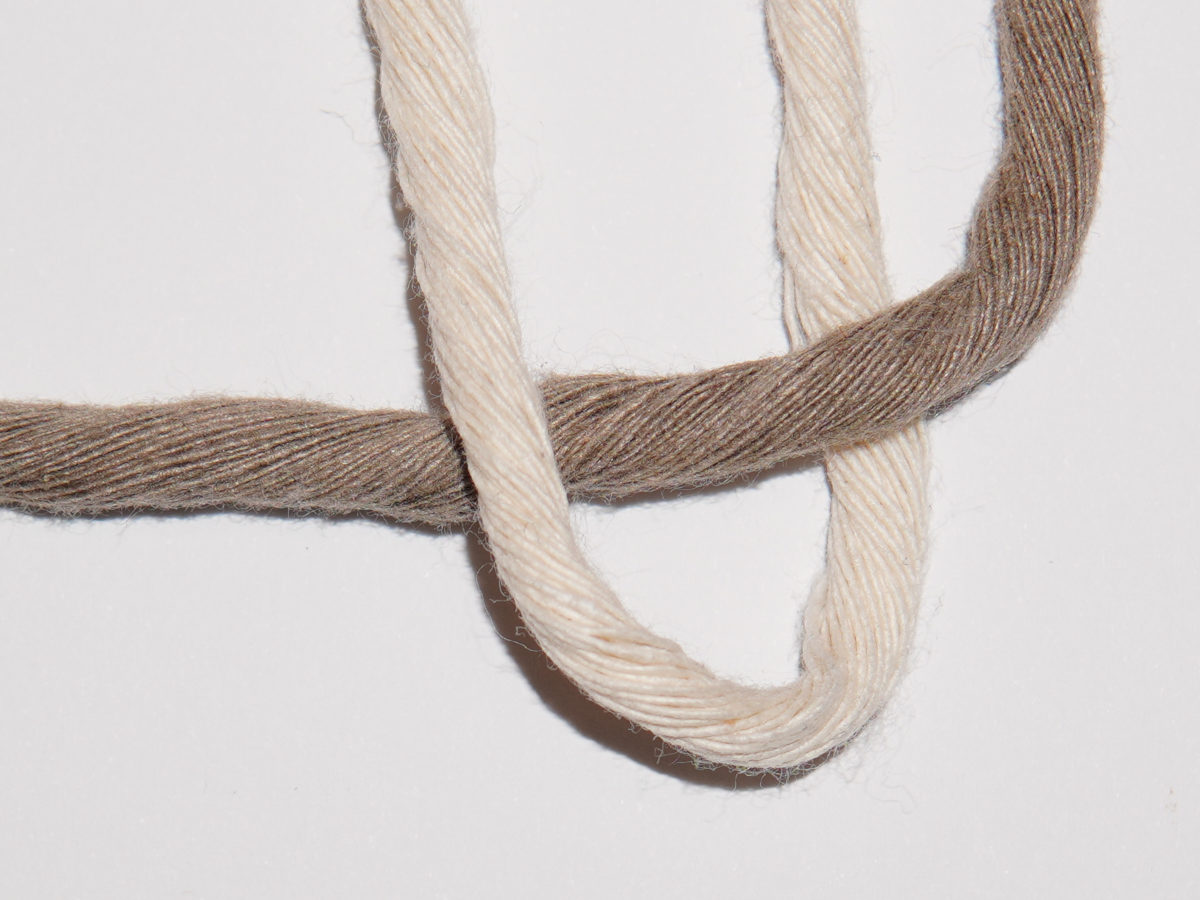
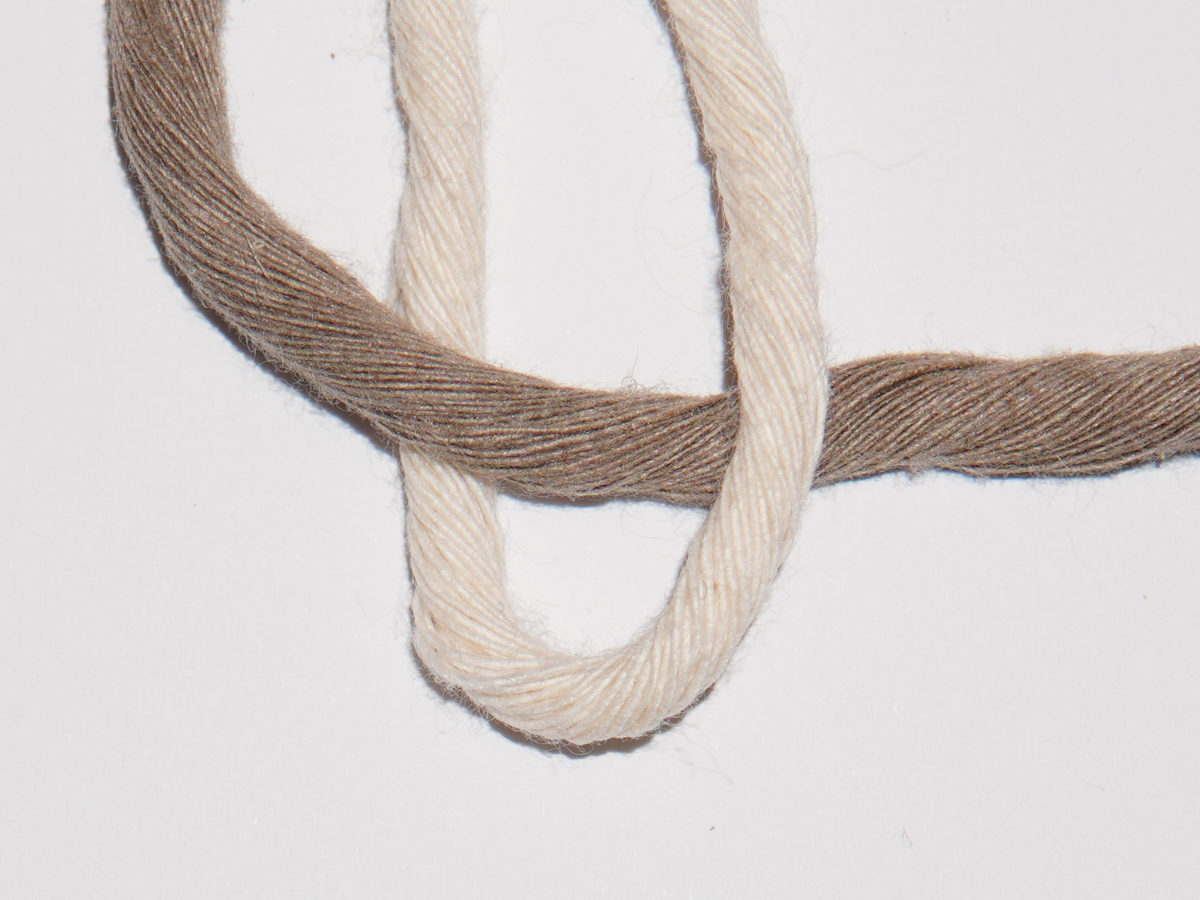
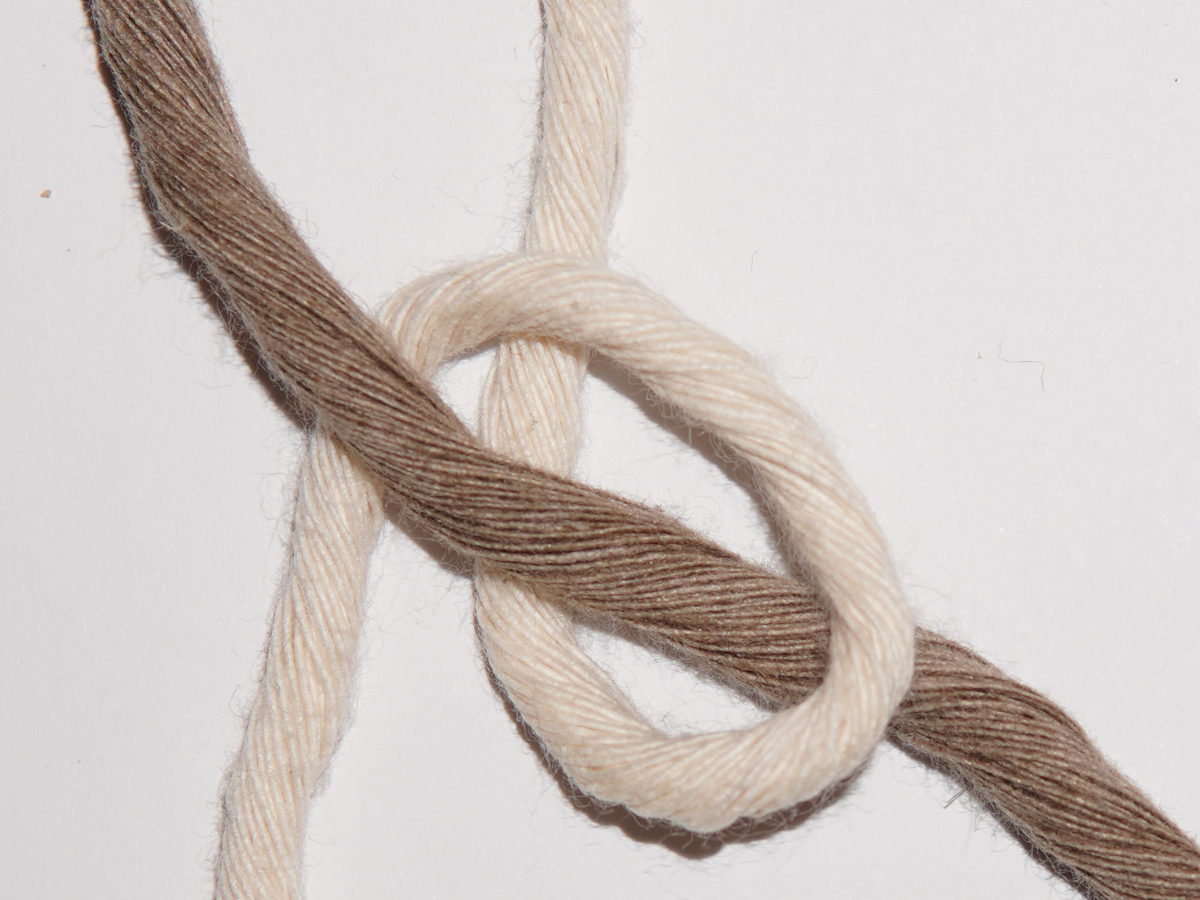
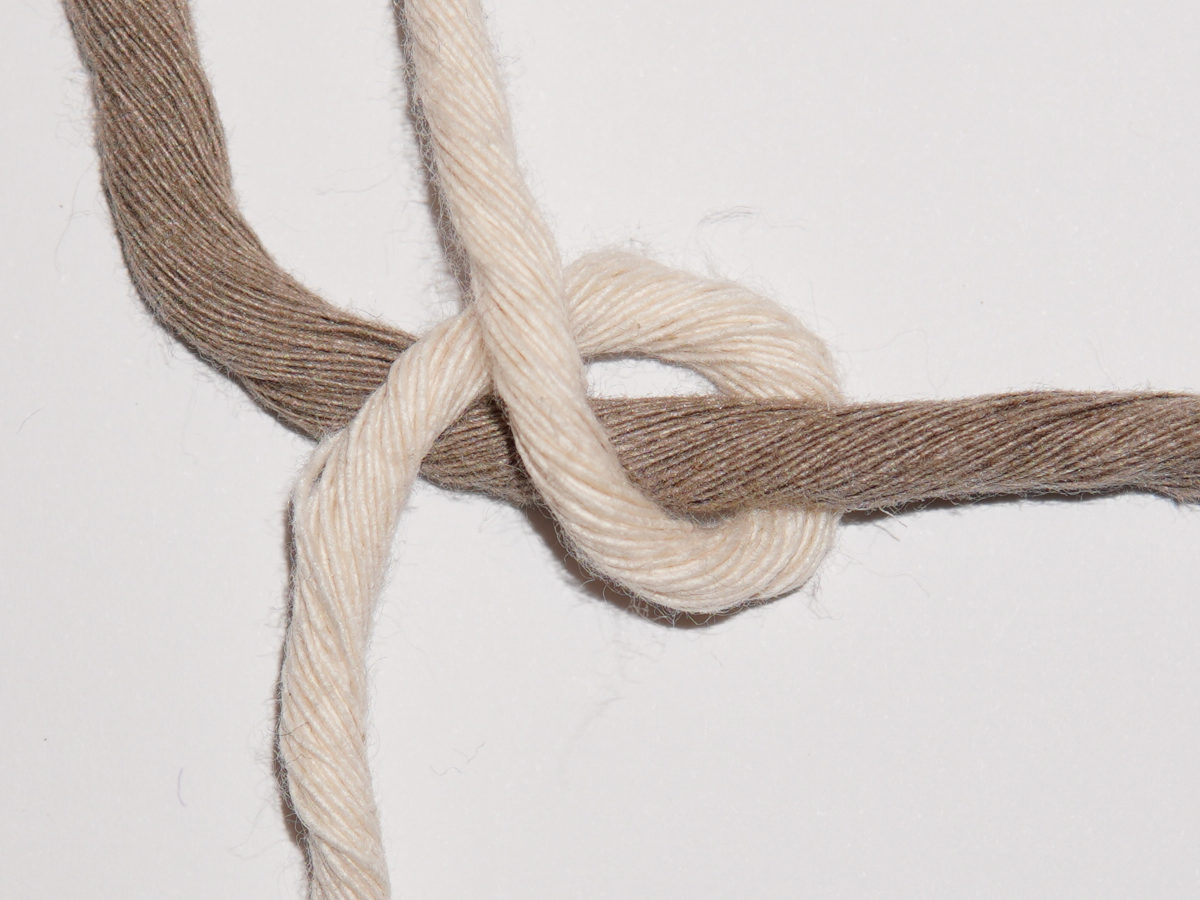
In the next step, place the working cord over the filler cord so that it lies to the left of its other half.

Schwere Feder Teil 1

3

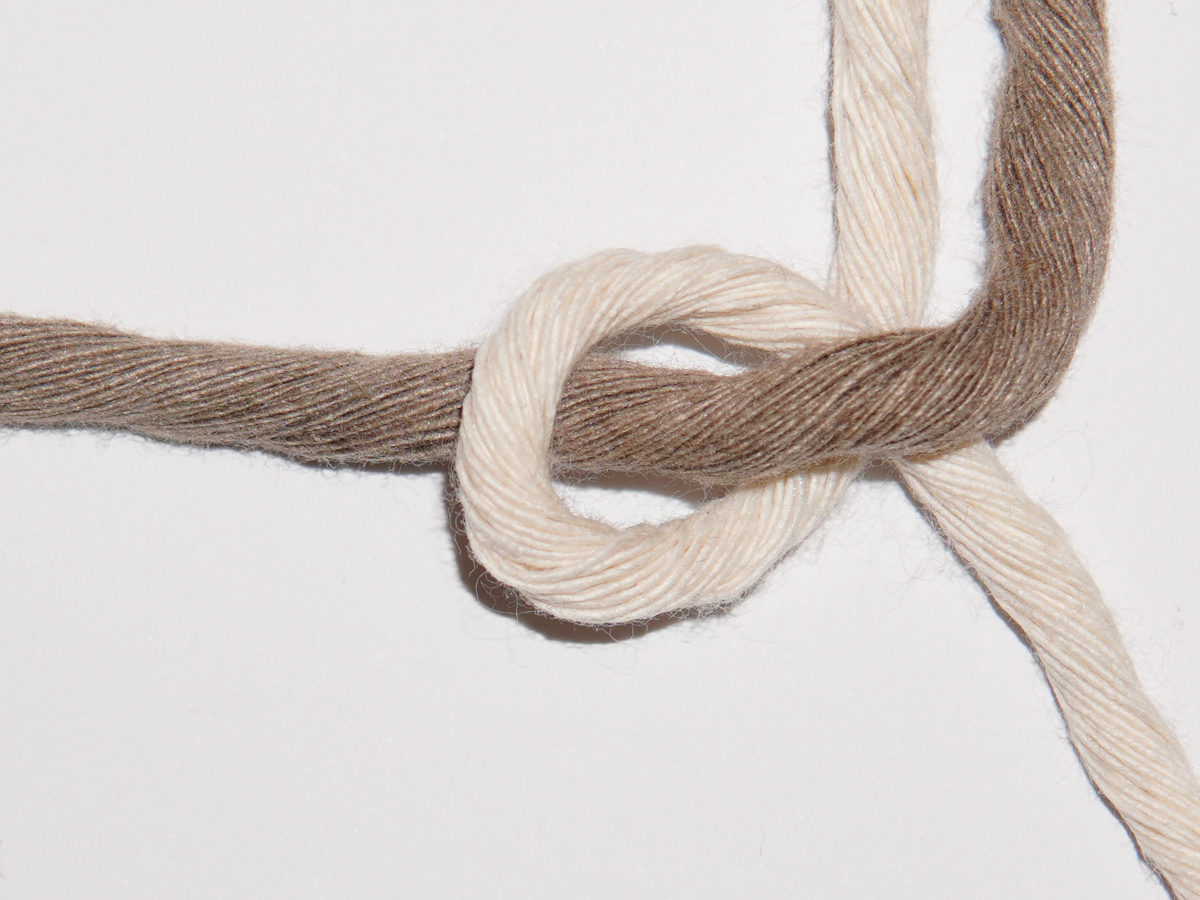
Then pass the working cord behind the filler cord and to the right of its other half.

Schwere Feder Teil 1

4

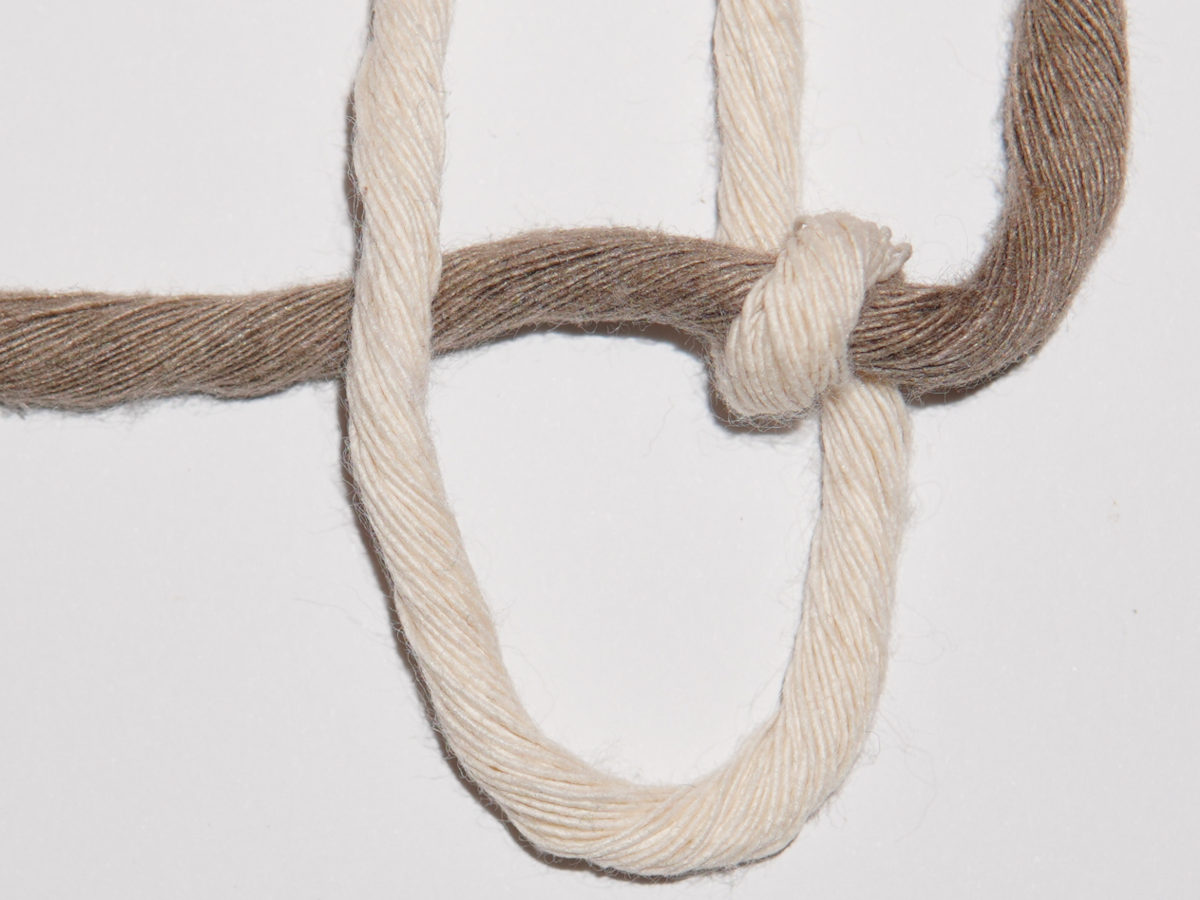
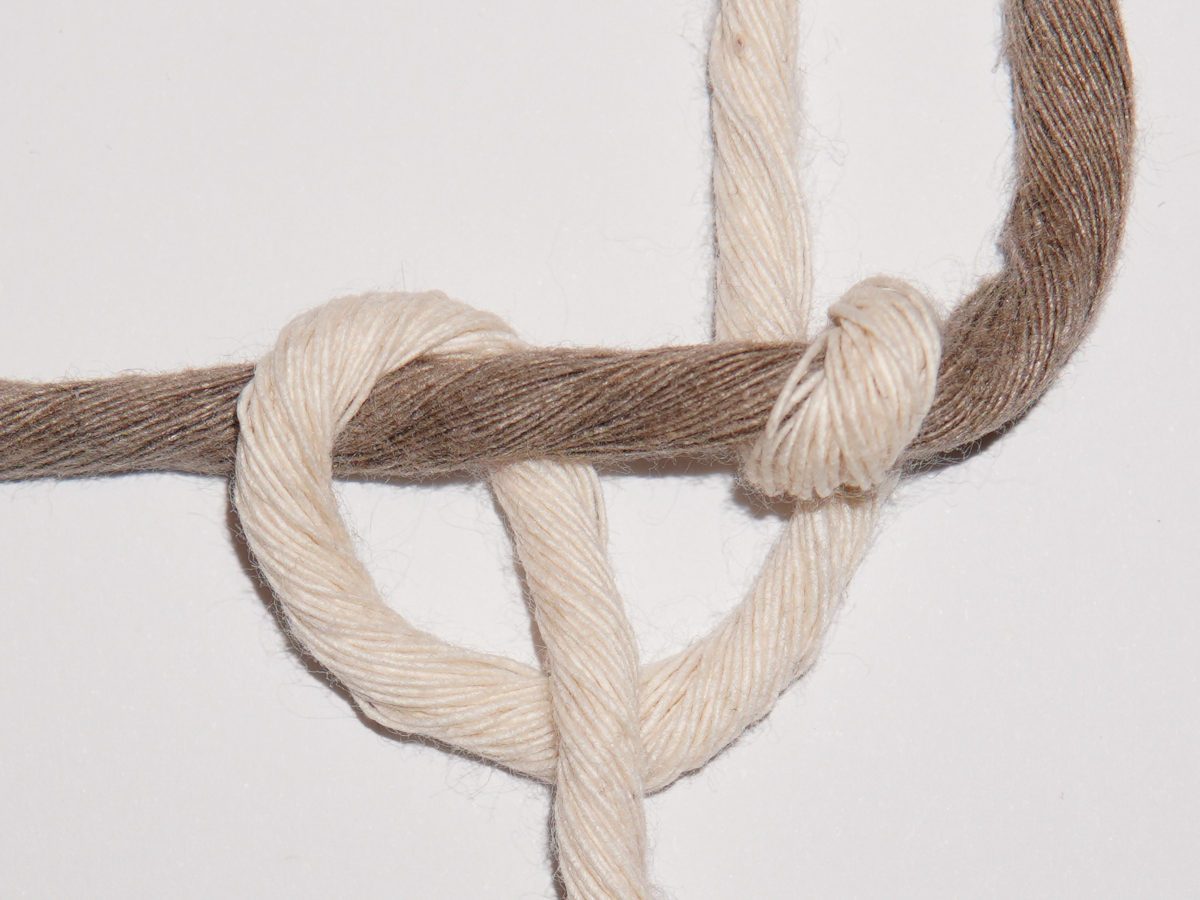
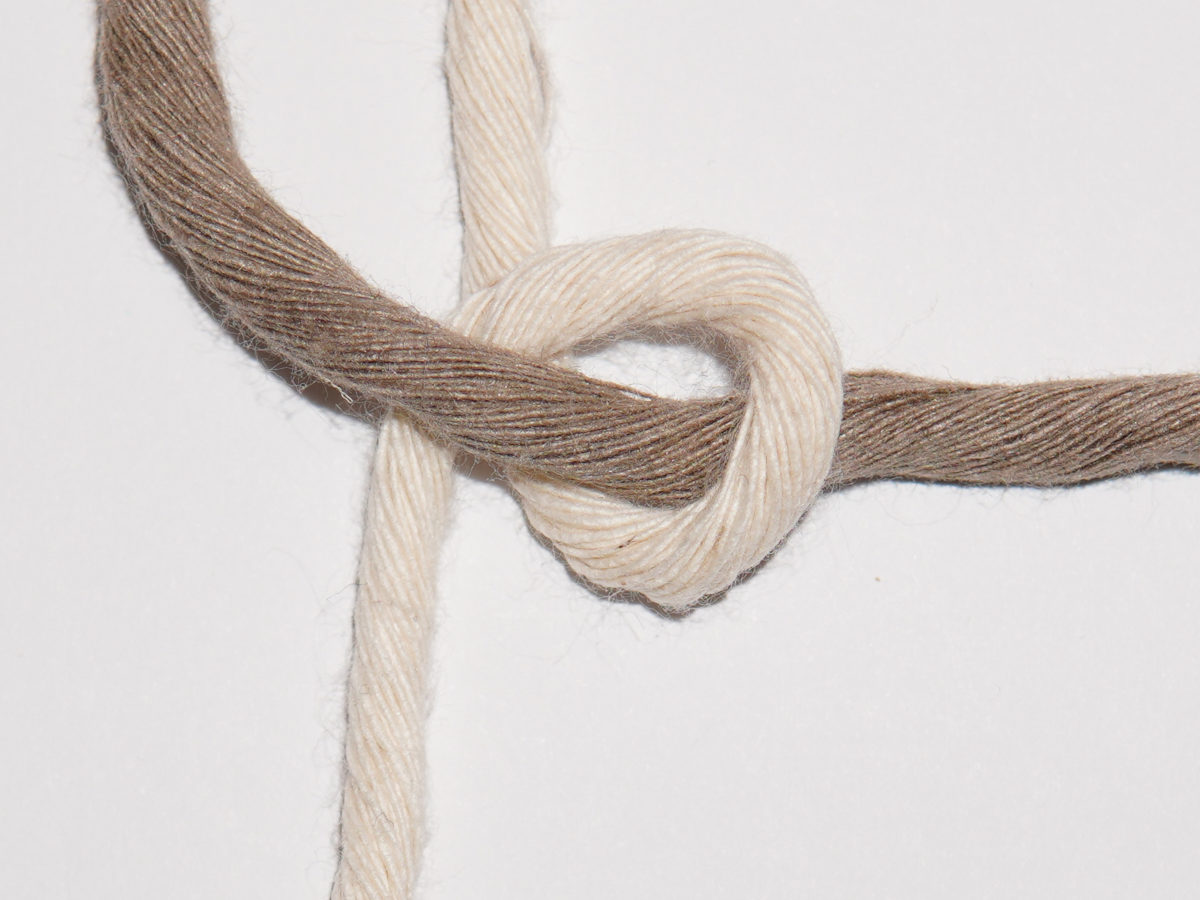
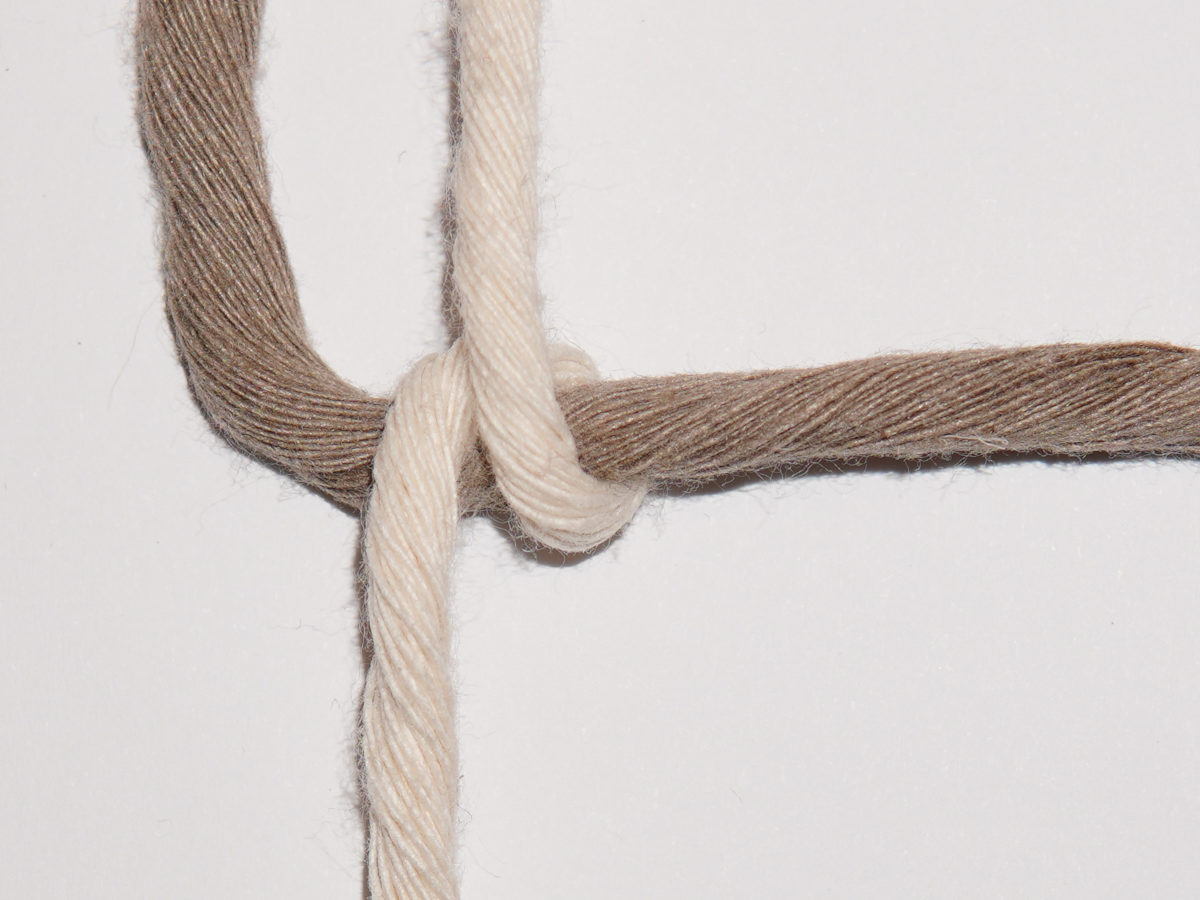
Pull the resulting loop nice and tight. Make sure that the filler cord is pulled tight. Then take the end of the working cord and place it to the left of the filler cord.

Schwere Feder Teil 1

5

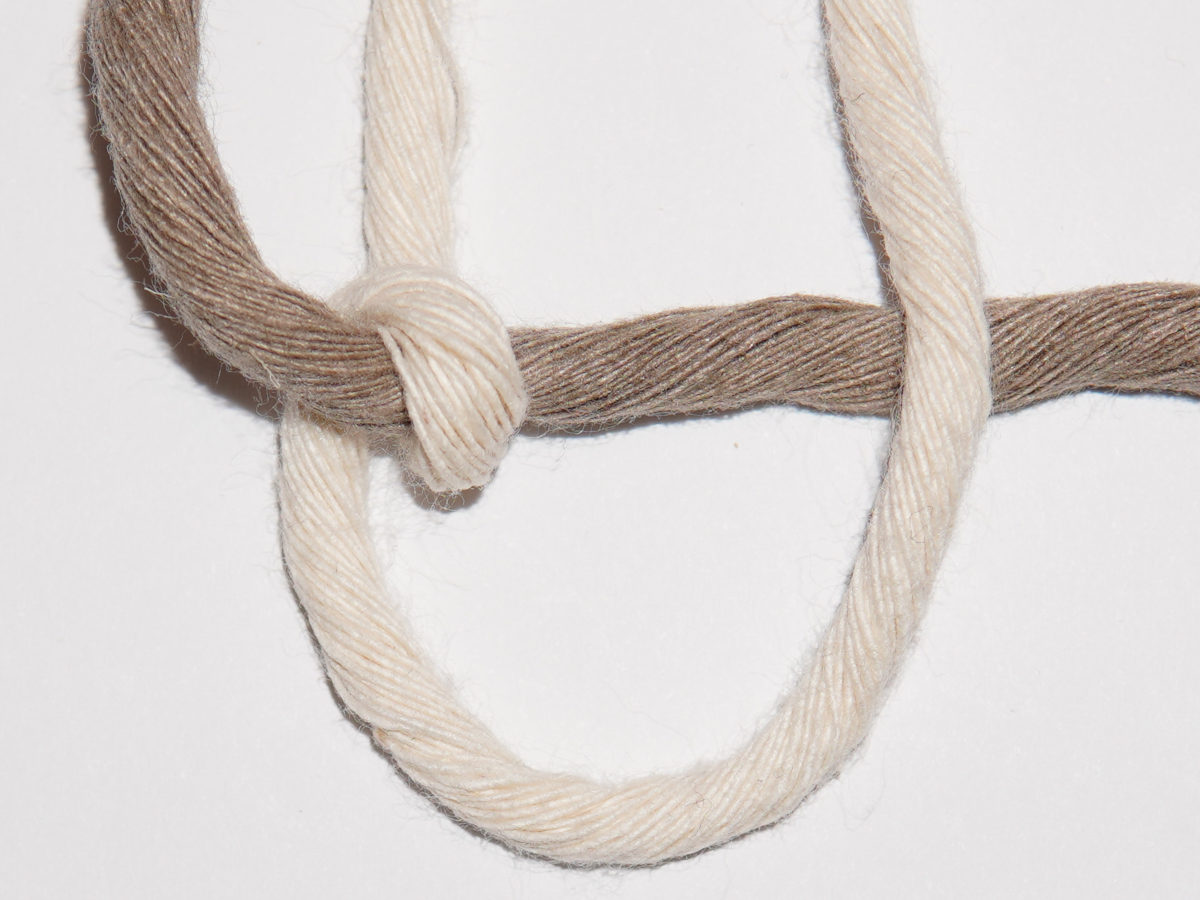
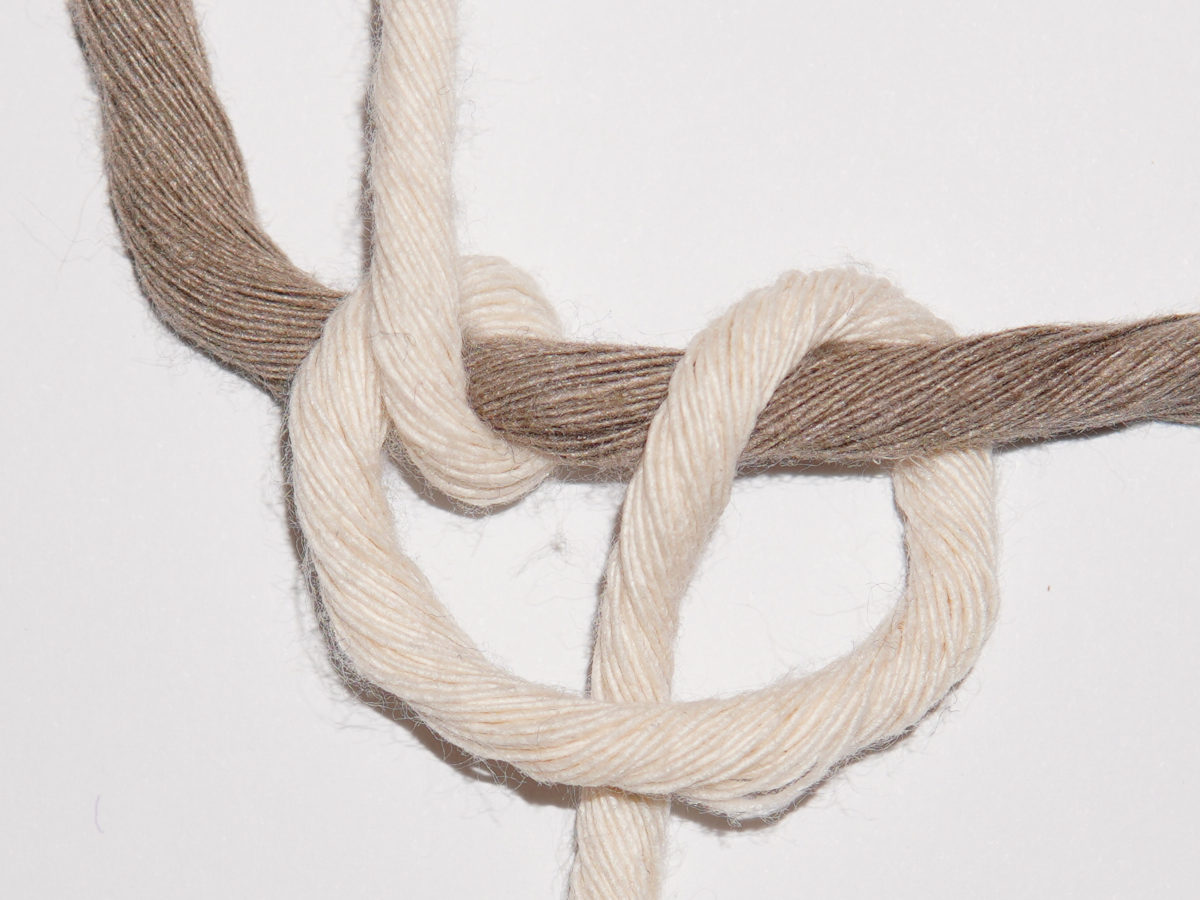
Now pass the working cord behind the filler cord so that it lies between the strand on top and the first loop. You then place it over the working cord.

Schwere Feder Teil 1

6

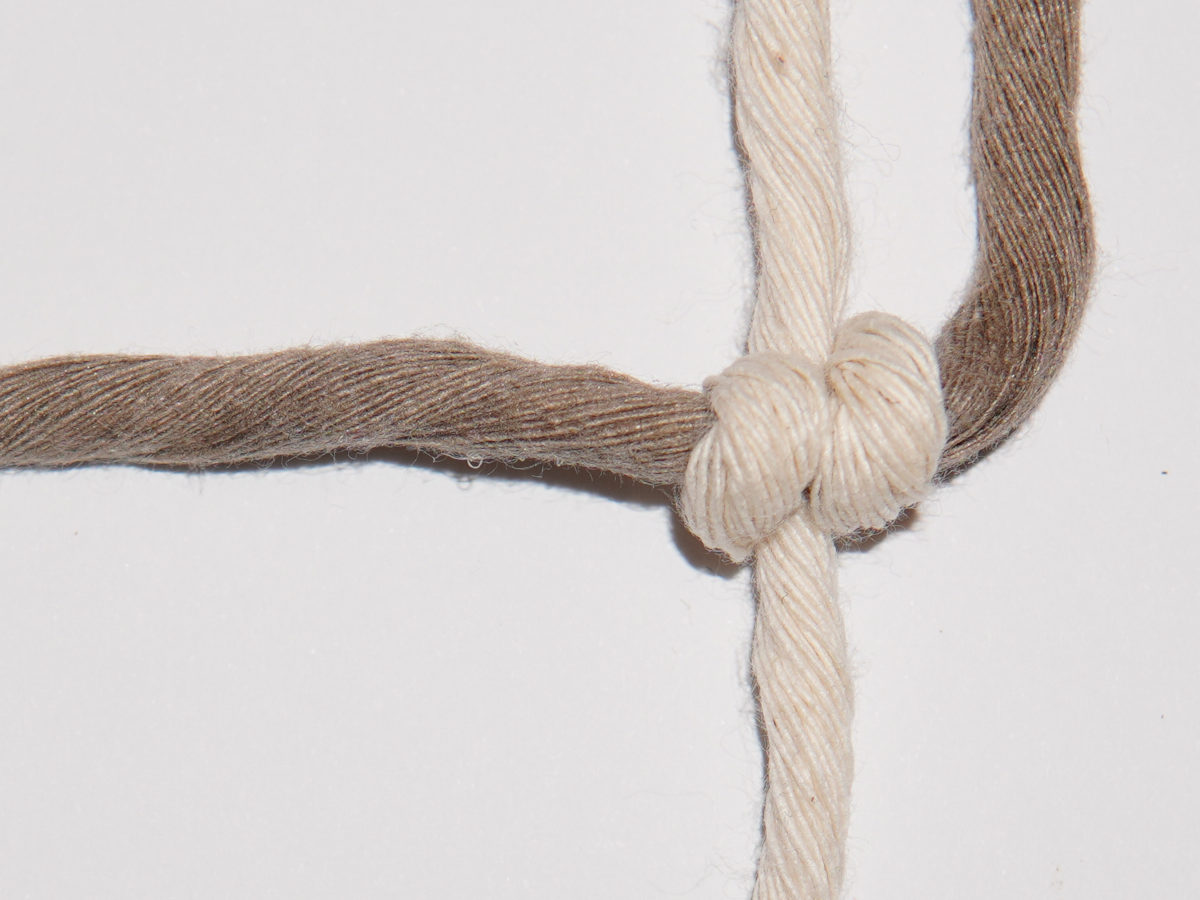
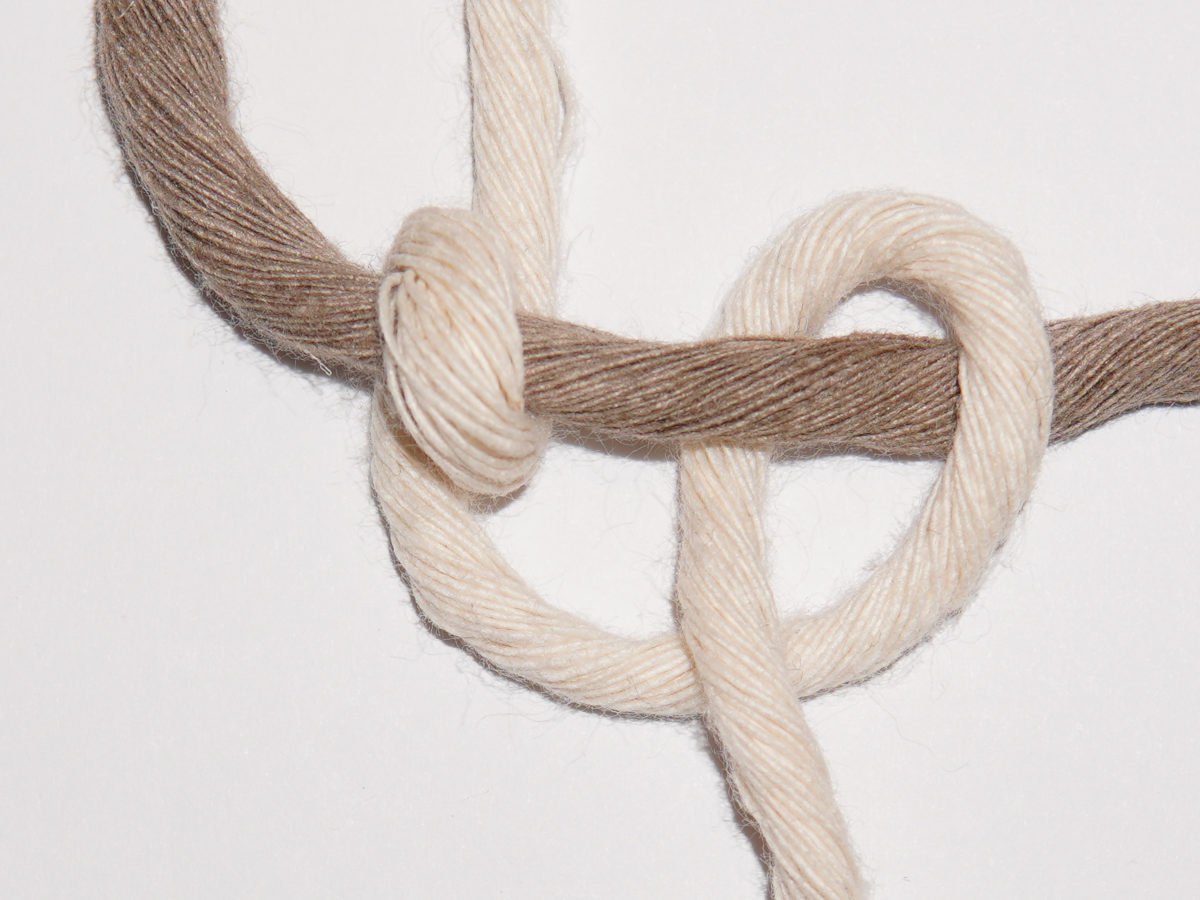
Now pull this tight while you pull the filler cord nice and tight. Otherwise the knot would twist funny. But if this has worked properly, the knot should look like the one in the picture.

Schwere Feder Teil 1

7

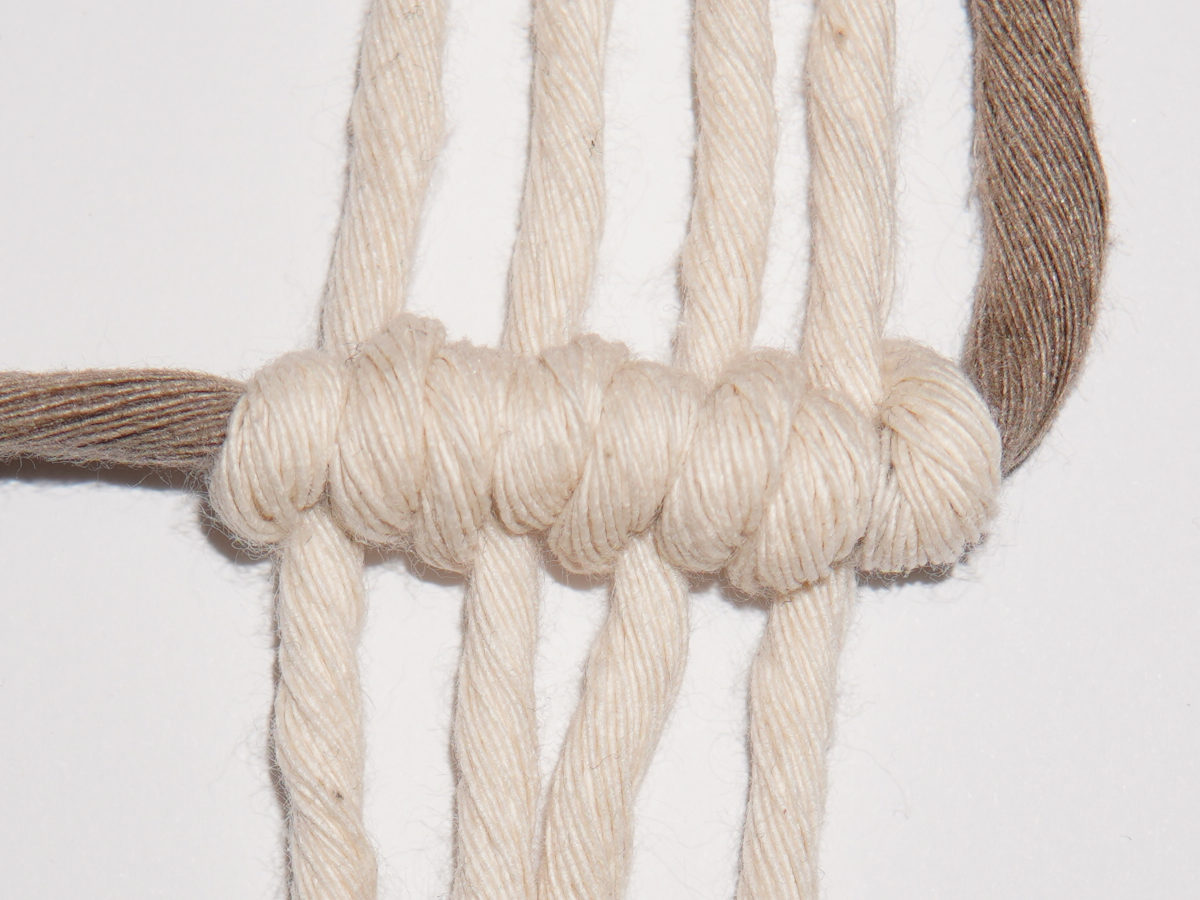
Of course, you can also do this with several working cords. Simply lay them parallel to the first working cord and carry out the steps described with each of them.

From Left to Right

Schwere Feder Teil 1

1

For the other direction, start on the left and place the working cord behind the filler cord again.

Schwere Feder Teil 1

2

In the next step, place the working cord over the filler cord so that it lies to the right of its other half.

Schwere Feder Teil 1

3

Then pass the working cord behind the filler cord and to the left of its other half.

Schwere Feder Teil 1

4

Pull the resulting loop nice and tight. Make sure that the filler cord is pulled tight. Then take the end of the working cord and place it to the right of the filler cord.

Schwere Feder Teil 1

5

Now pass the working cord behind the filler cord so that it is between the strand on top and the first loop. You then place it over the working cord.

Schwere Feder Teil 1

6

Now pull this tight while you pull the filler cord nice and tight. Otherwise the knot would twist funny. But if this has worked properly, the knot should look like the one in the picture.

Schwere Feder Teil 1

7

Of course, you can also do this with several working cords. Simply lay them parallel to the first working cord and carry out the steps described with each of them.

Vertical

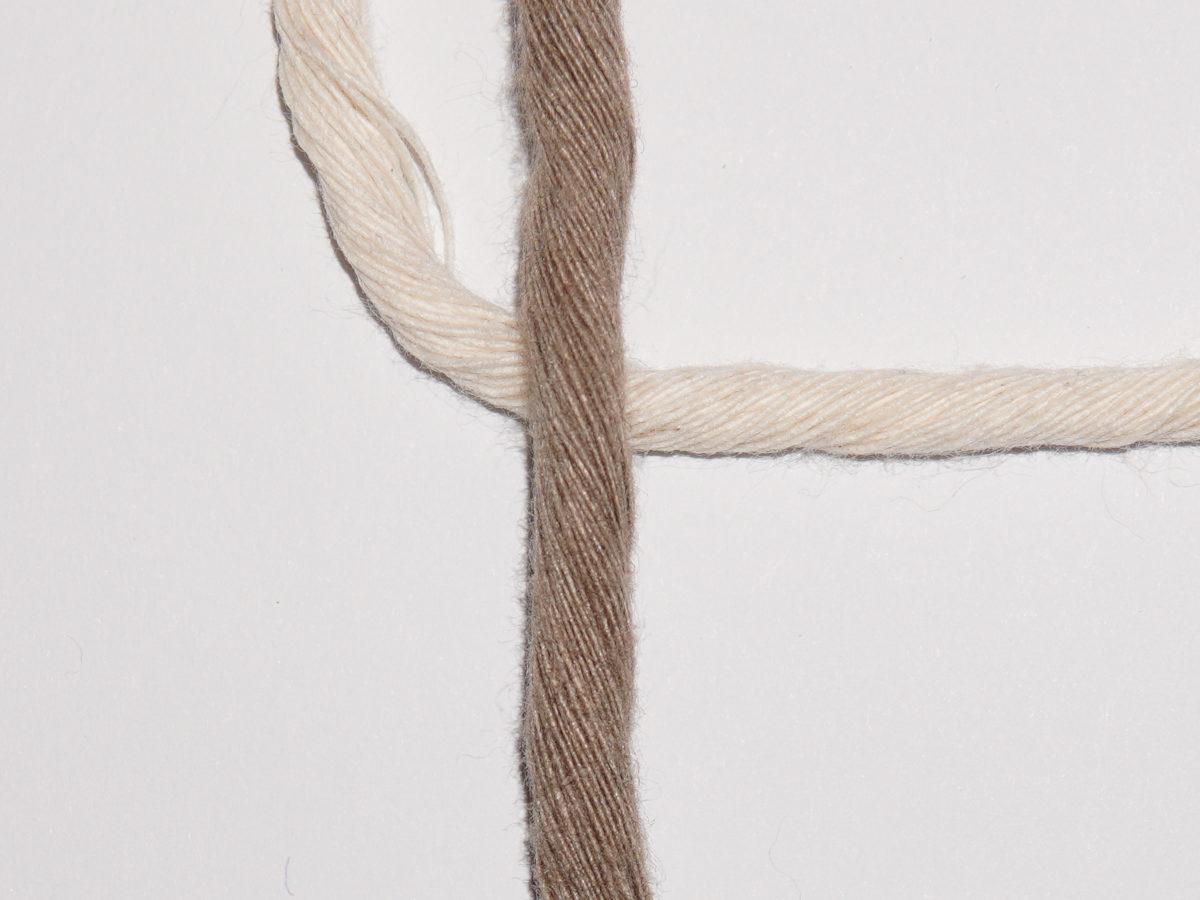
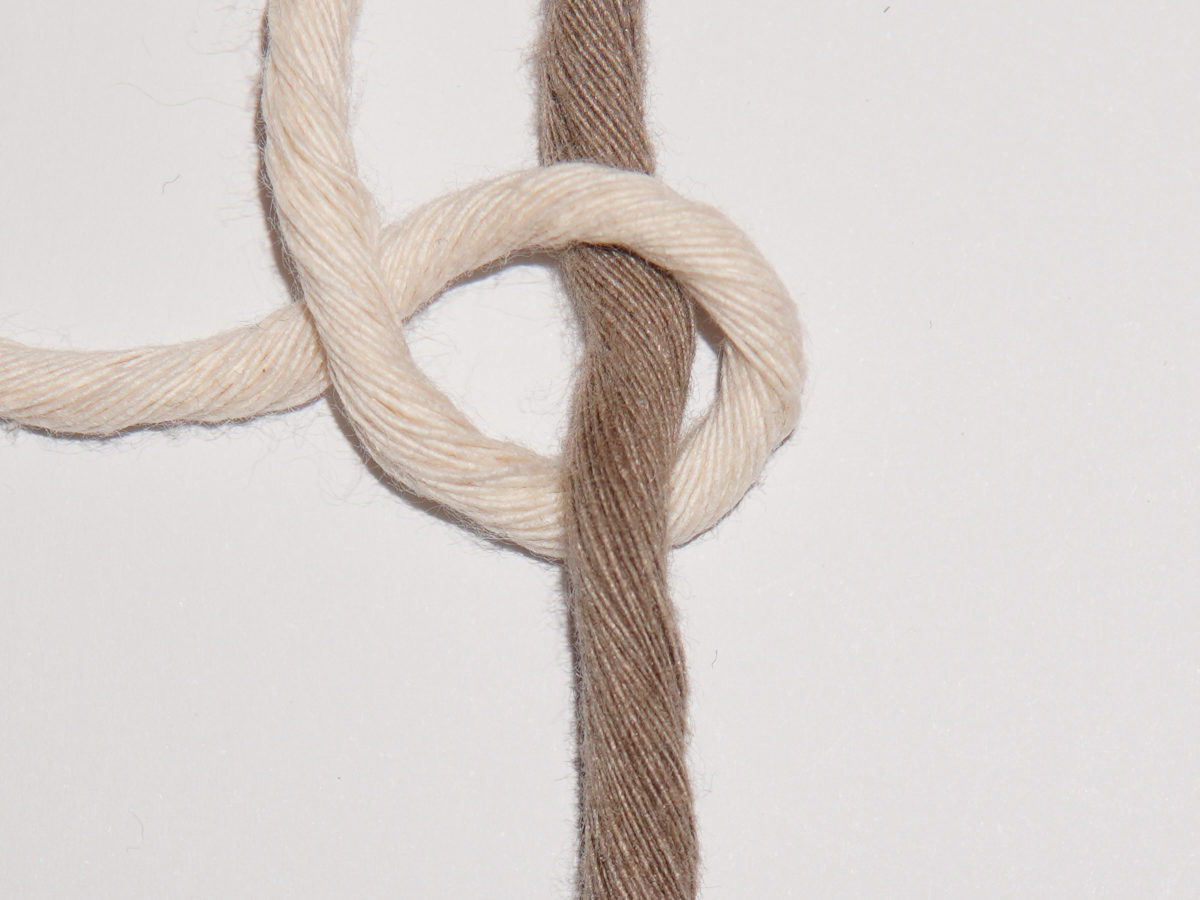
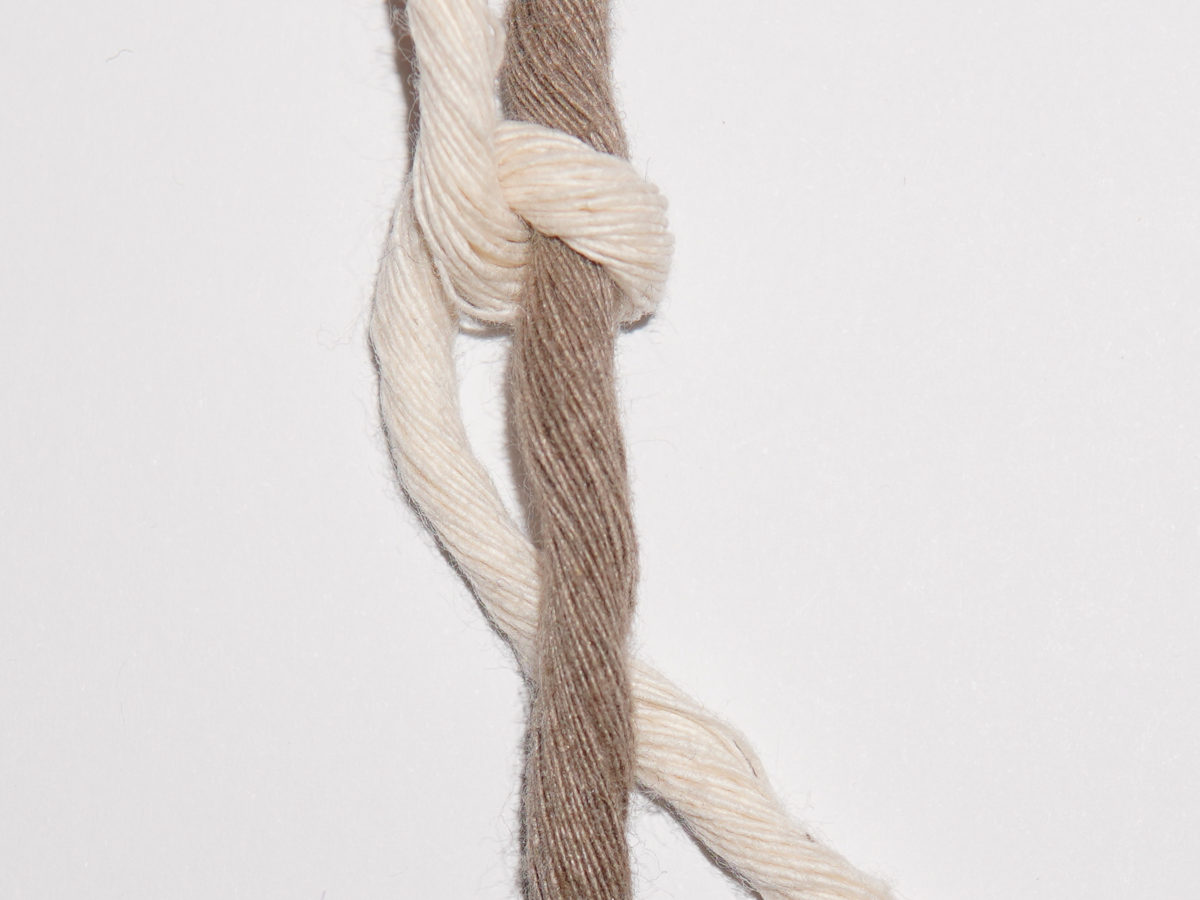
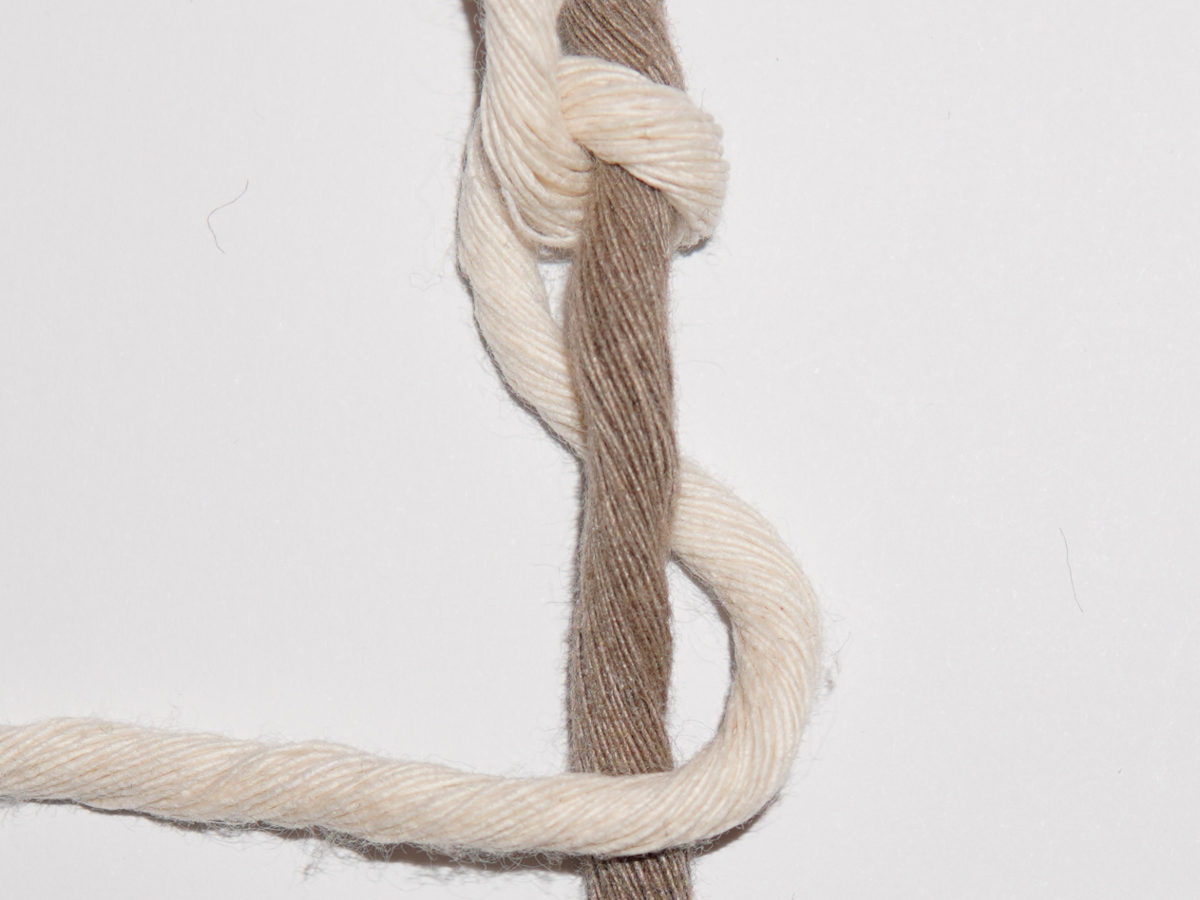
The vertical double half-hitch knot differs in that there is only one working cord and several filler cords. In other words, exactly the opposite of the previous variants. For the sake of simplicity, however, we’ll start with just one filler cord. You can see the end result below.

Schwere Feder Teil 1

1

You start with the working and filler cords hanging parallel to each other. The left strand is the working cord, which you now pass under the filler cord.

Schwere Feder Teil 1

2

In the second step, bring the working cord up and then over the filler cord. Then pass the cord under the beginning of the working cord to create a loop.

Schwere Feder Teil 1

3

You can tighten this loop and then pass the working cord back under the filler cord.

Schwere Feder Teil 1

4

Now place the working cord over the filler cord.

Schwere Feder Teil 1

5

Then pass the working cord under the filler cord to create another loop.

Schwere Feder Teil 1

6

Now simply pull this loop tight by keeping the filler cord tight so that the knot does not twist. And now you have your first vertical double half-hitch knot.

Schwere Feder Teil 1

7

If you want to tie several vertical double half-hitch knots, simply place more filler cords parallel to the two cords and repeat steps 1 to 6 with them.

Schwere Feder Teil 1

8

If you have tied several next to each other, the whole thing will look like this.

Reverse

There is also the option of tying the double half-hitch knot in reverse. This means that you tie the knot so that you can see the back and not the front as before. Tying the double half-hitch knot in reverse brings some variety to a pattern with lots of double half-hitch knots. You can of course also tie it diagonally or vertically, the knot is always the same. Here I show you the horizontal version from left to right.

Schwere Feder Teil 1

1

You start with two cords, the left one is the filler cord (dark) and the right one is the working cord (light). Place the filler cord horizontally under the working cord so that the working cord lies above the filler cord.

Schwere Feder Teil 1

2

In the second step, pass the working cord under the filler cord and then place it over the filler cord to the left of the resulting loop.

Schwere Feder Teil 1

3

Now the first part of the double half-hitch knot is finished and you can tighten the loop.

Schwere Feder Teil 1

4

In the next step, bring the working cord behind the filler cord. Then bring the working cord back over the filler cord to create a second loop. Pass the end of the working cord under the other part of the working thread.

Schwere Feder Teil 1

5

Now you can pull the knot nice and tight again, again making sure to keep the filler cord tight so that the knot does not twist. The reverse version of the rib knot is finished.

Schwere Feder Teil 1

6

If you want to tie several double half-hitch knots next to each other, simply lay more threads parallel to the others and repeat steps 1 to 5.

That’s it! Now you know the common variations of the double half-hitch knot. If you don’t understand a step or have any further questions, feel free to write in the comments.

Have fun knotting!
0 Comments

Submit a Comment

Your email address will not be published. Required fields are marked *